
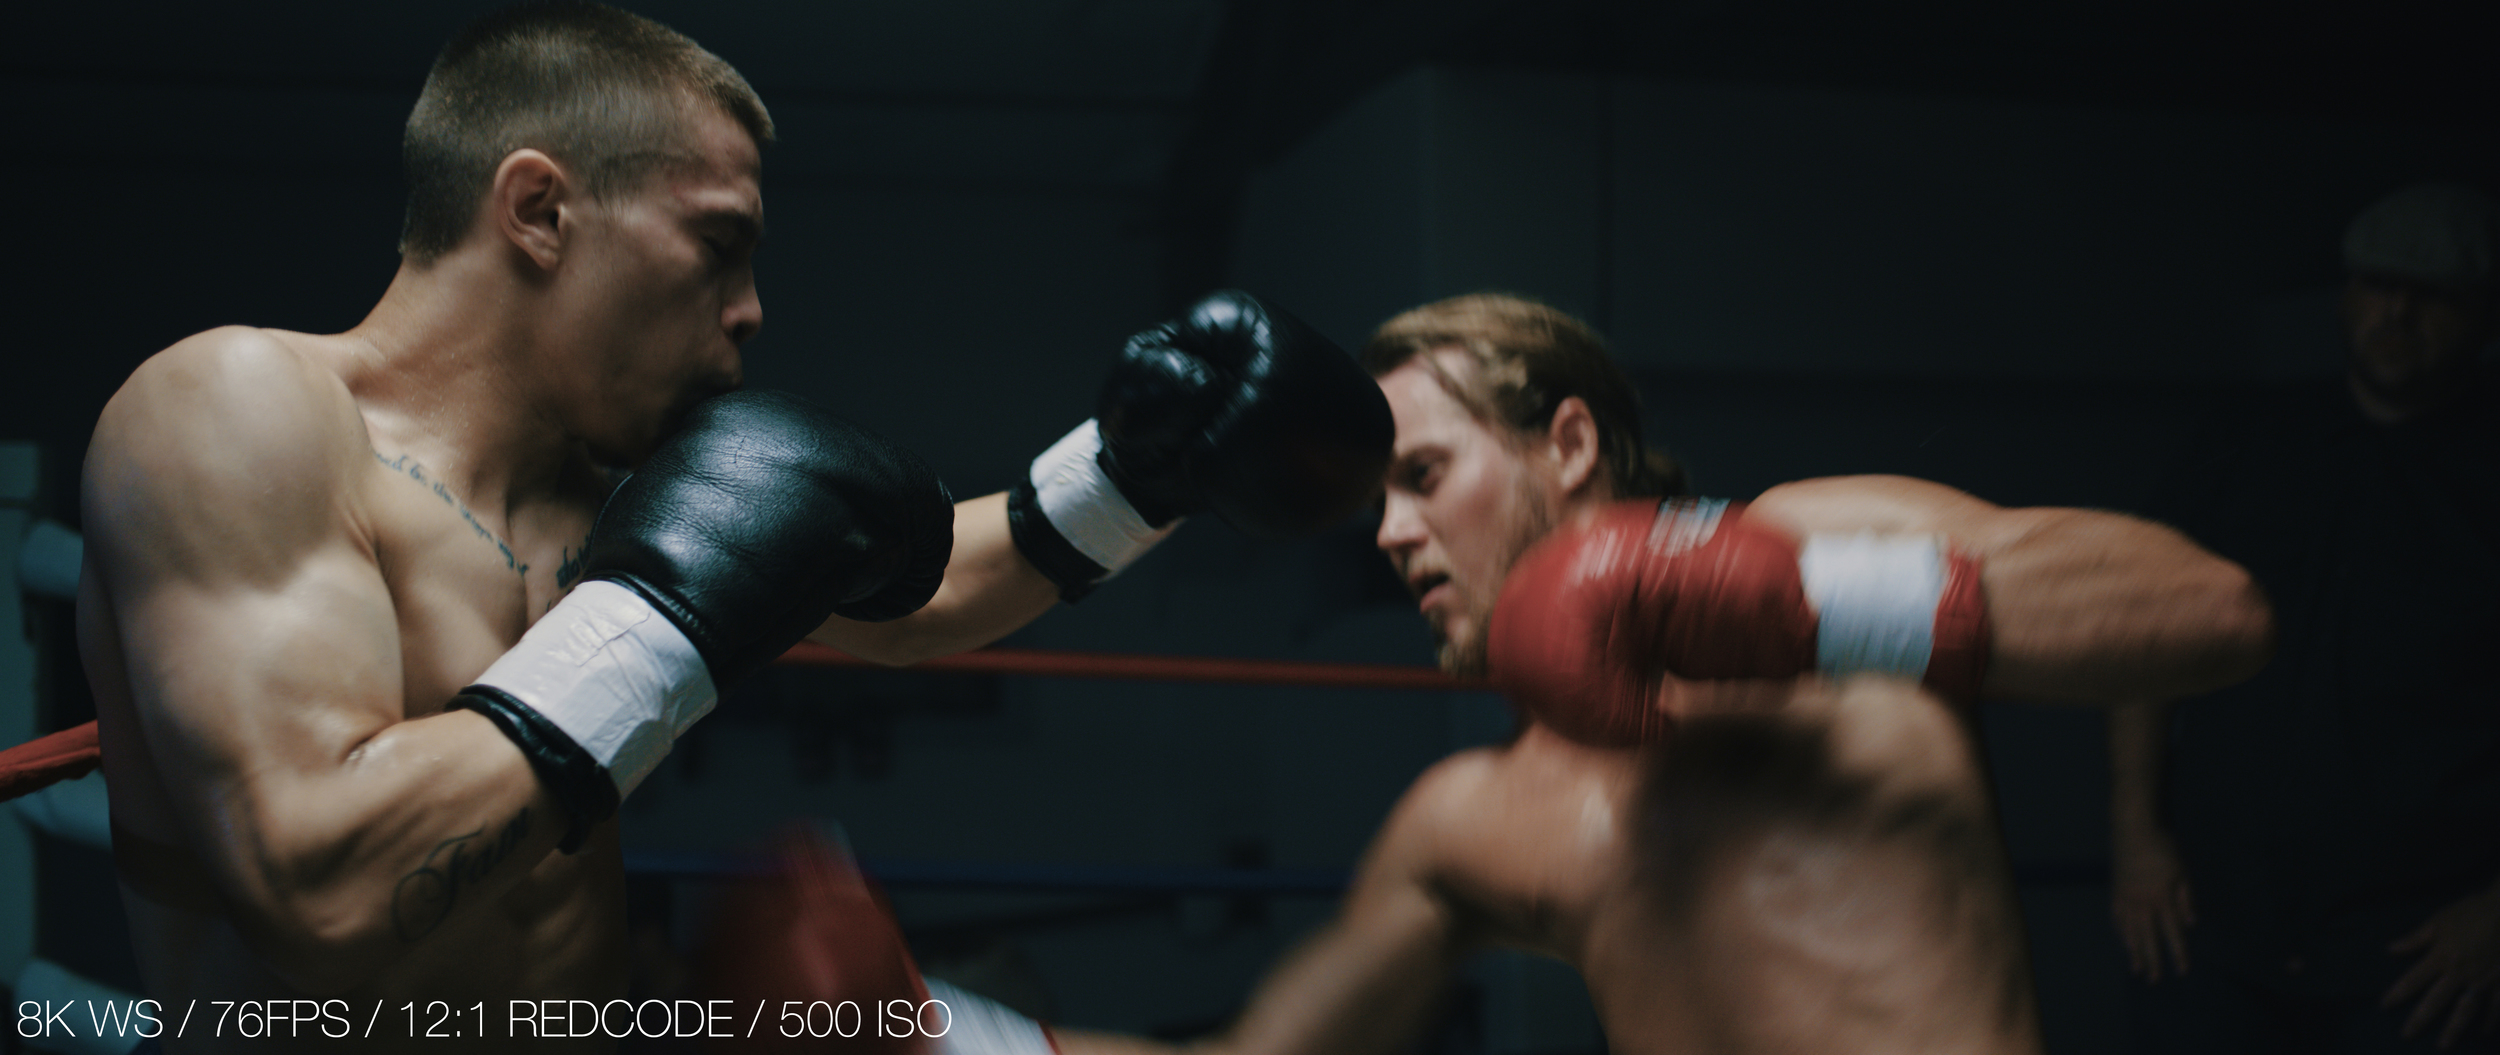
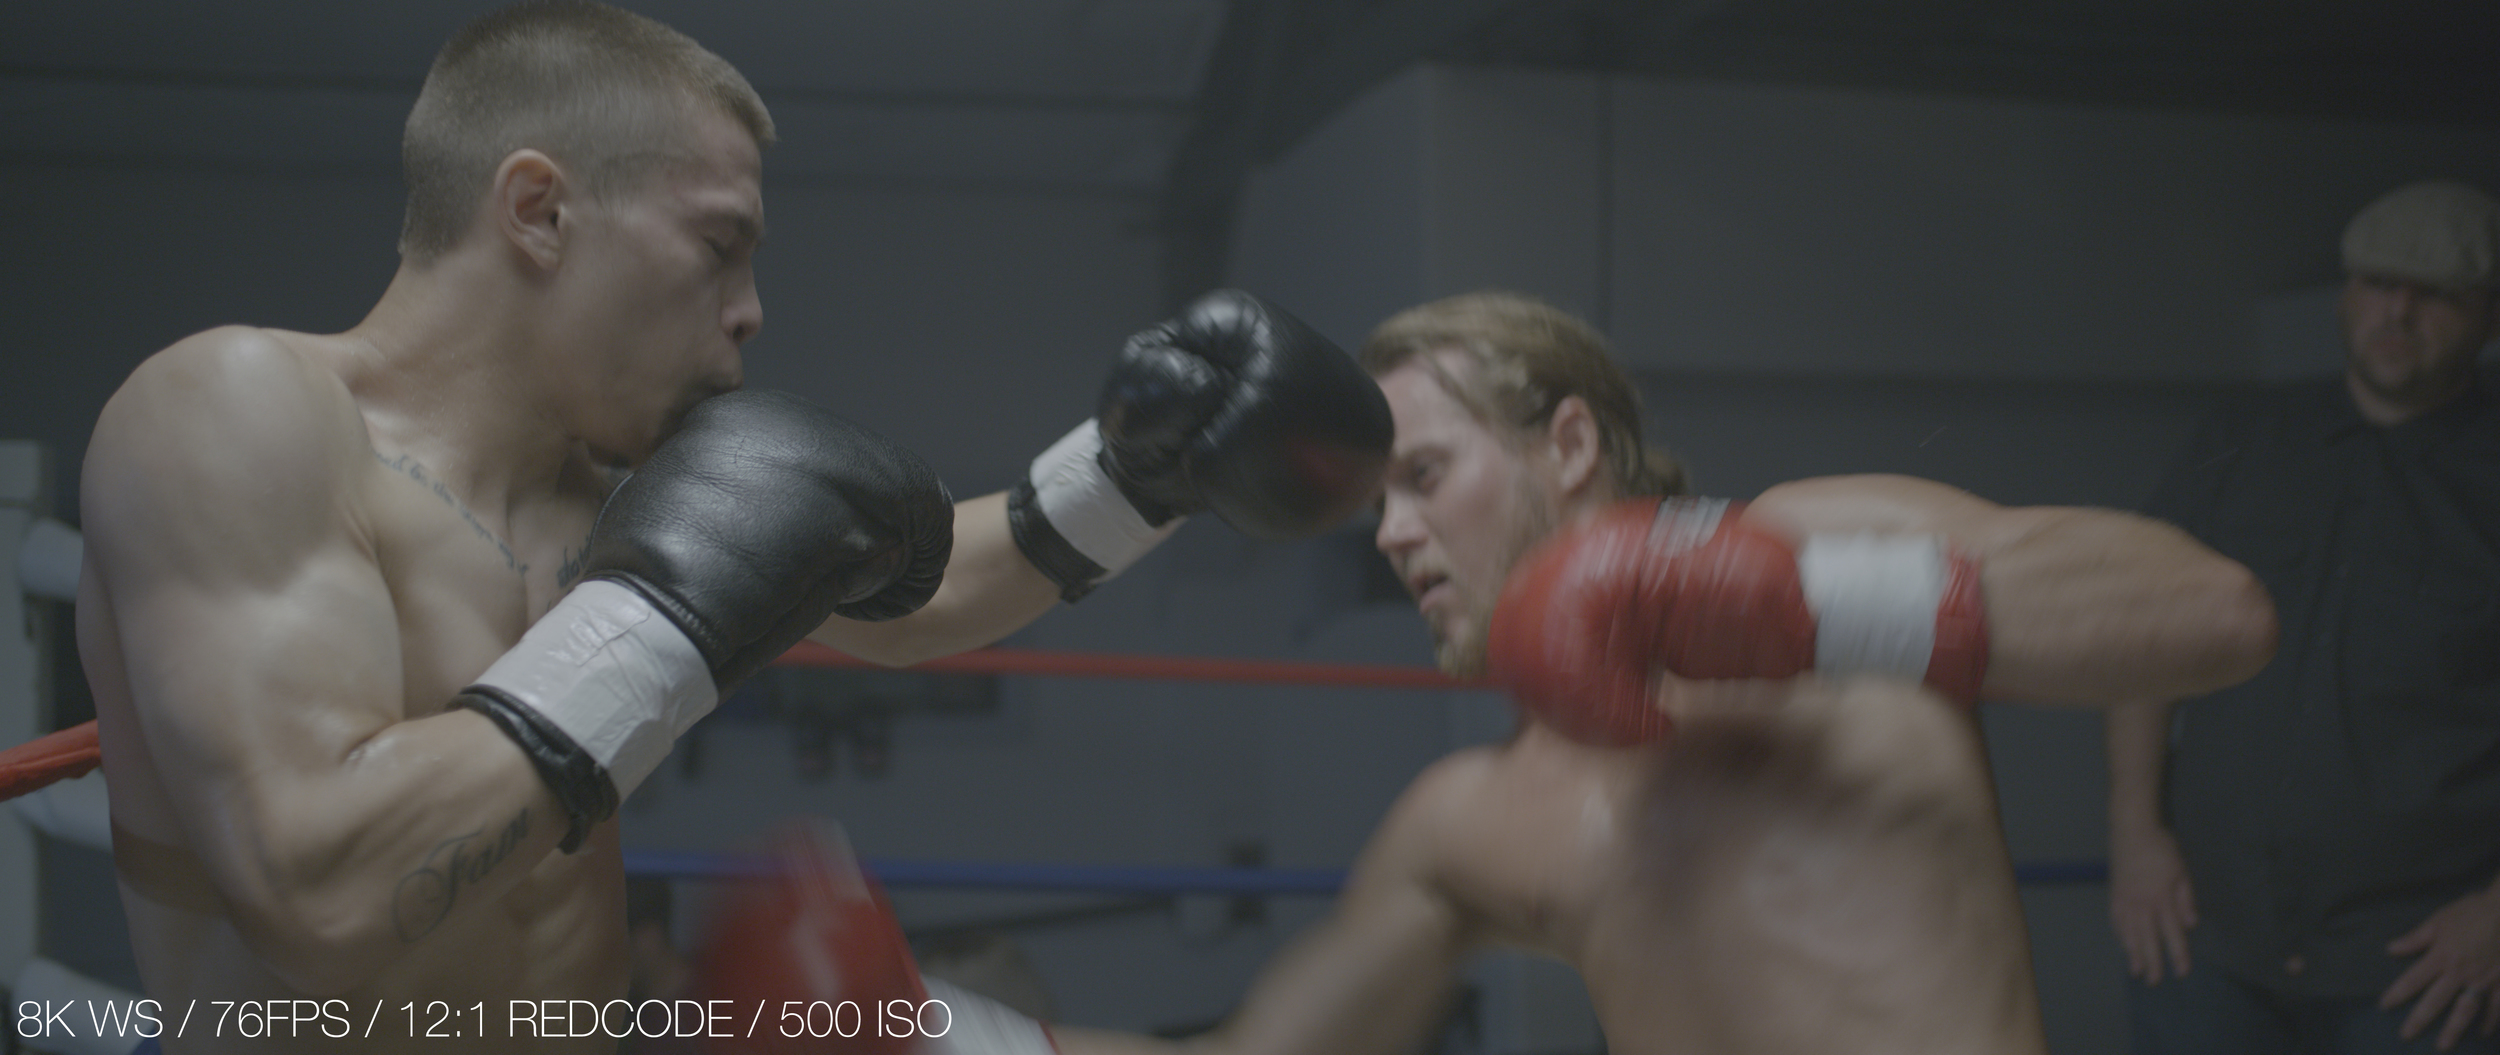
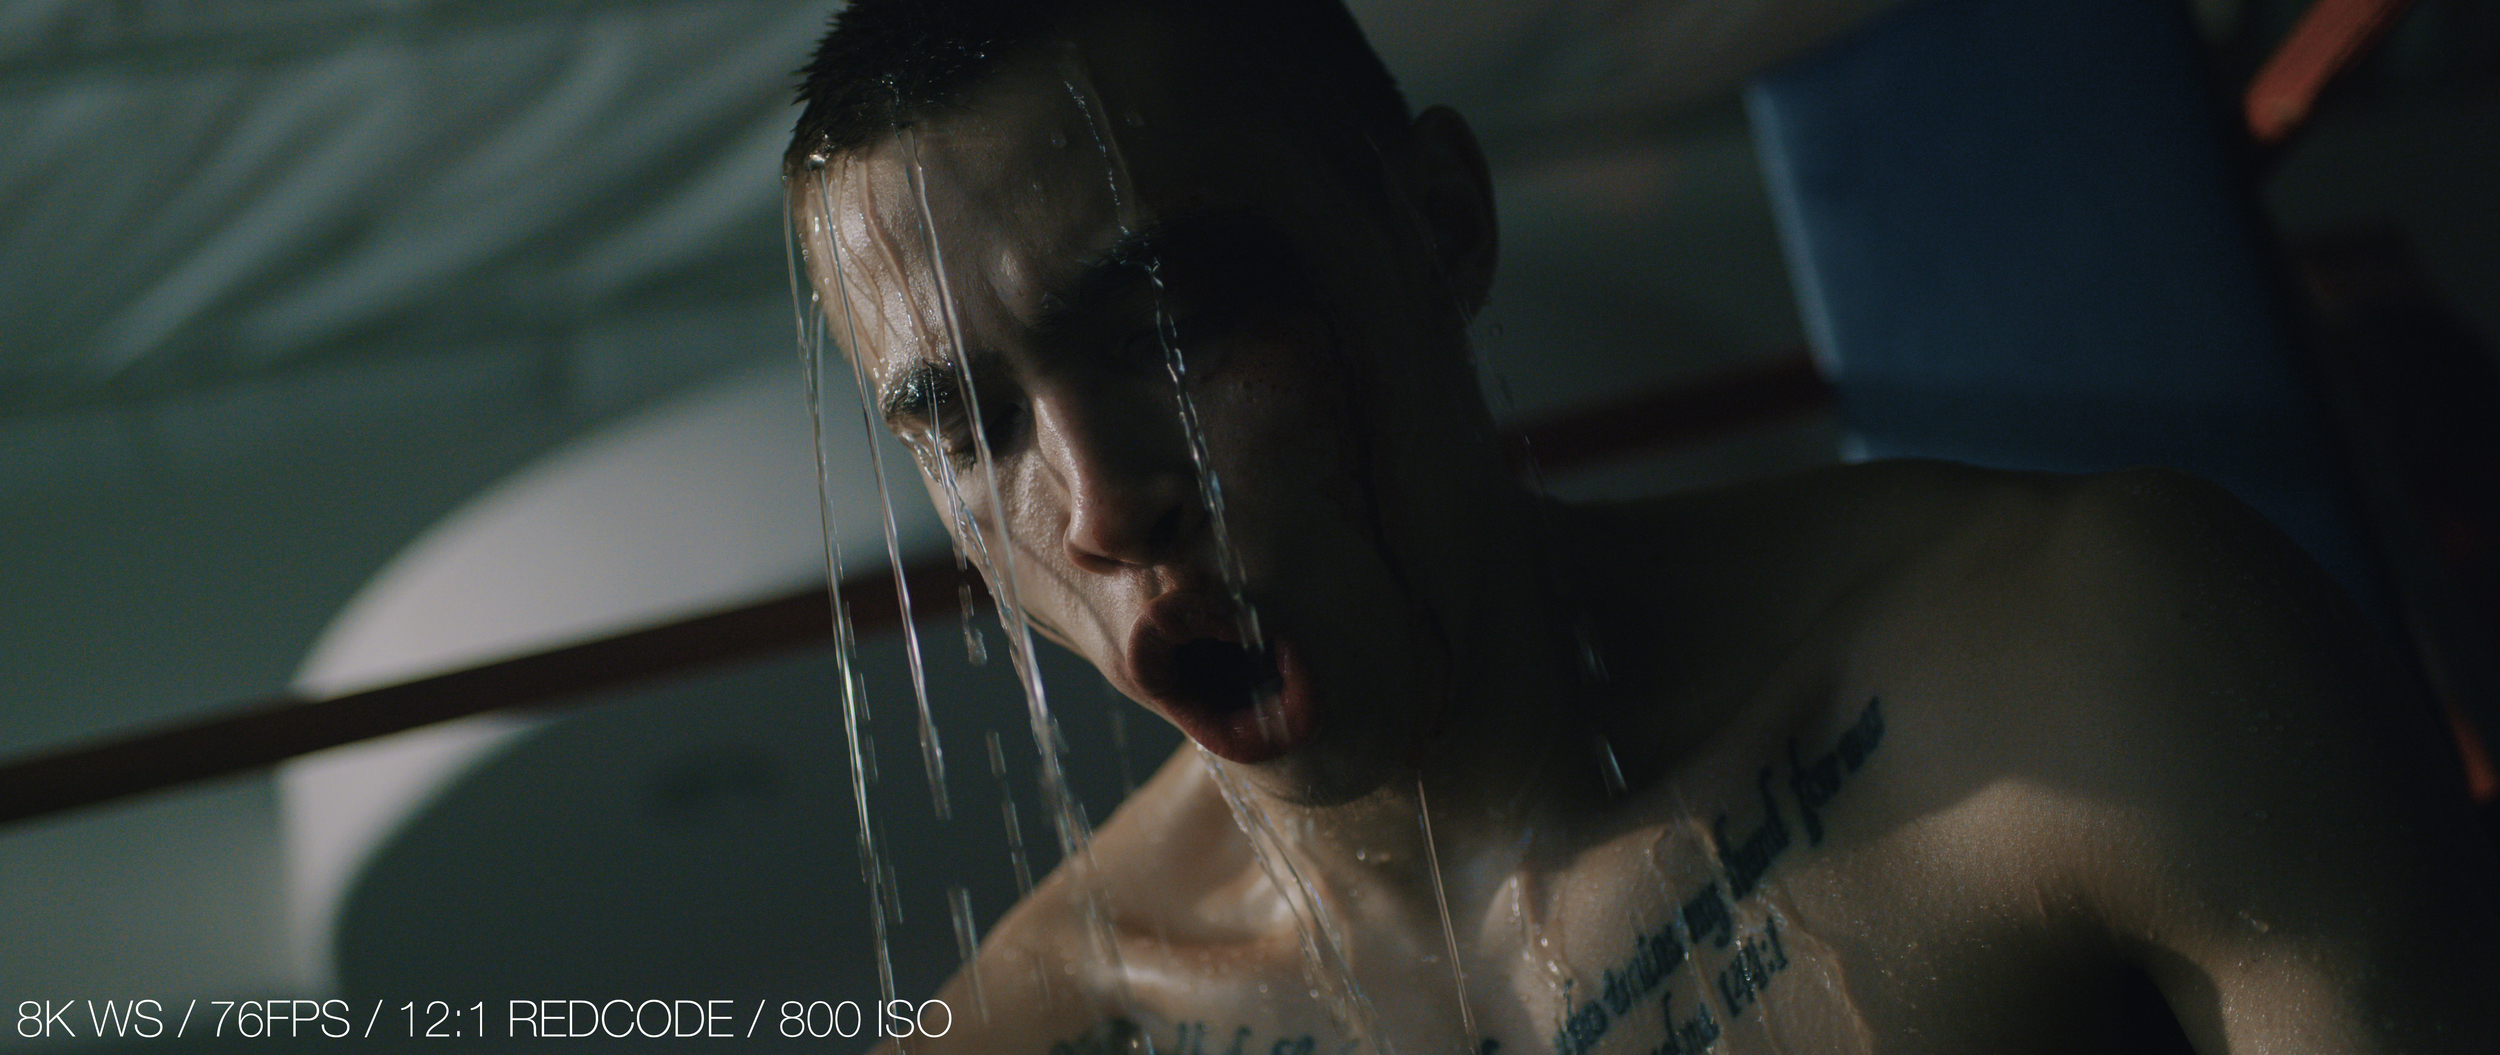
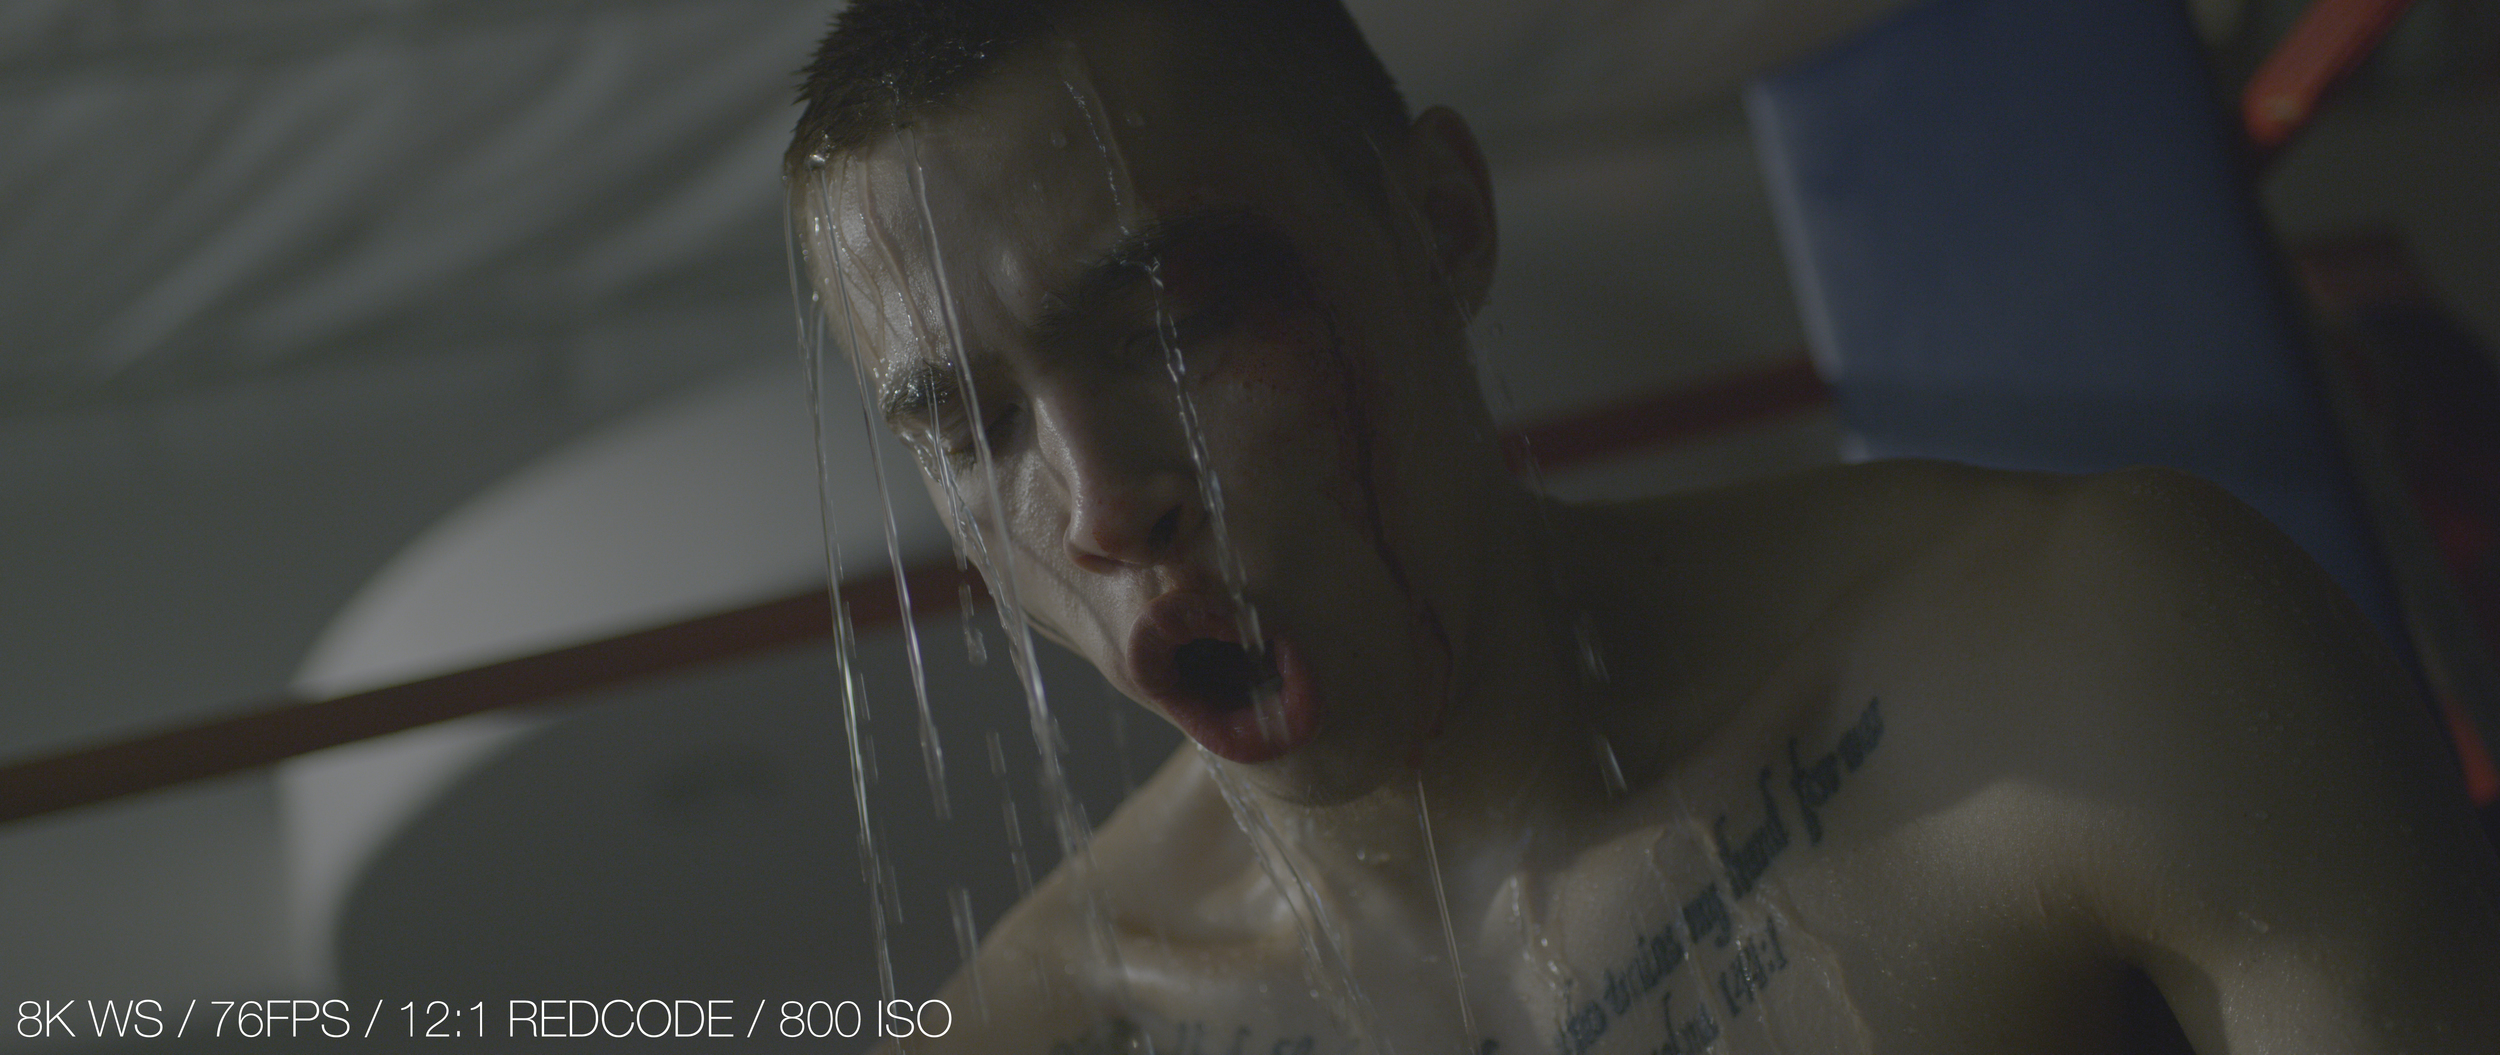
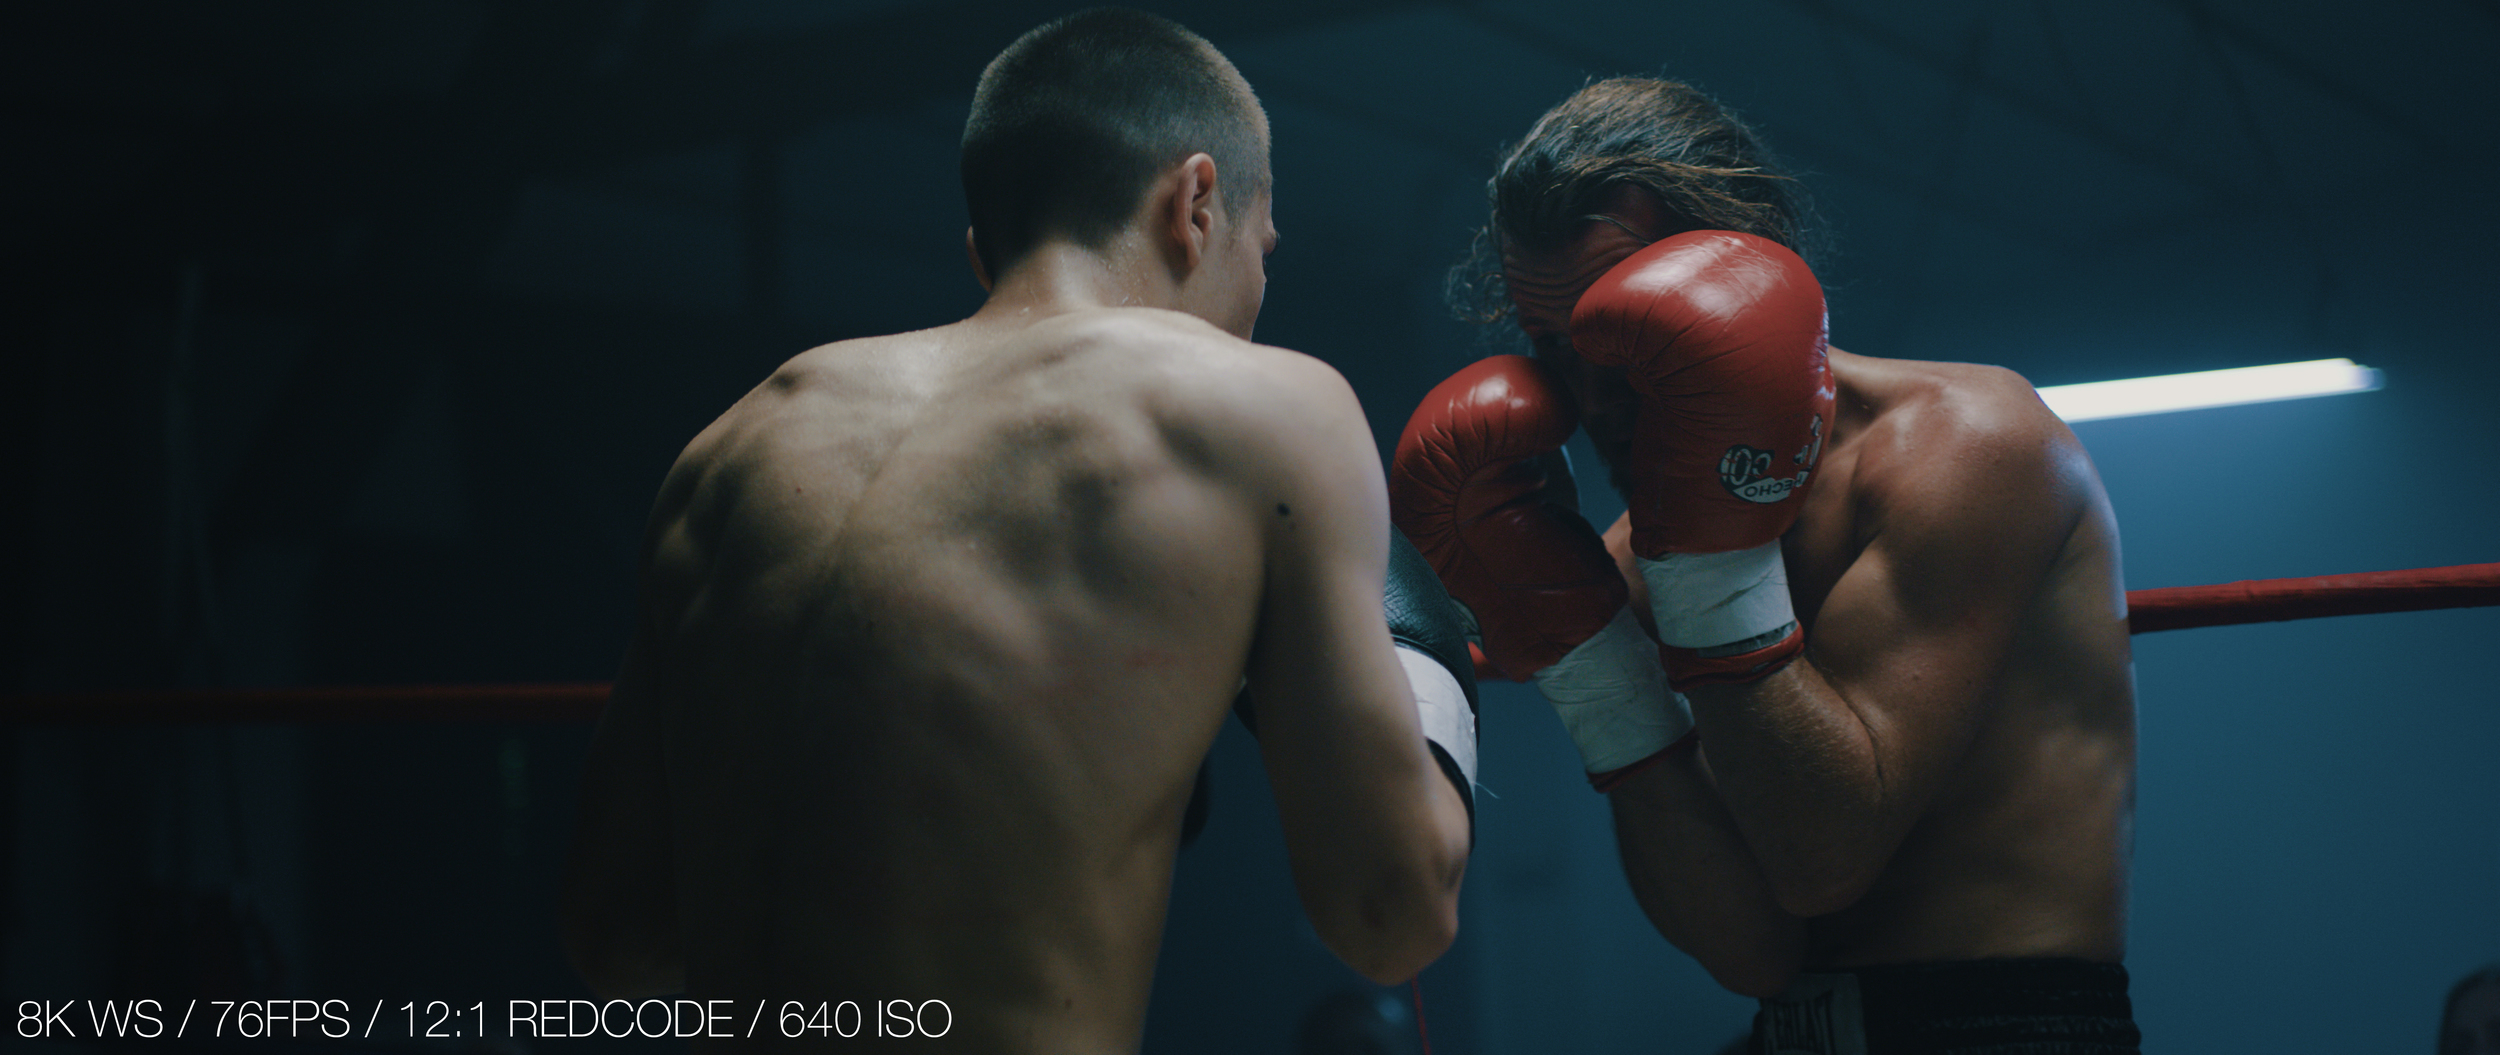
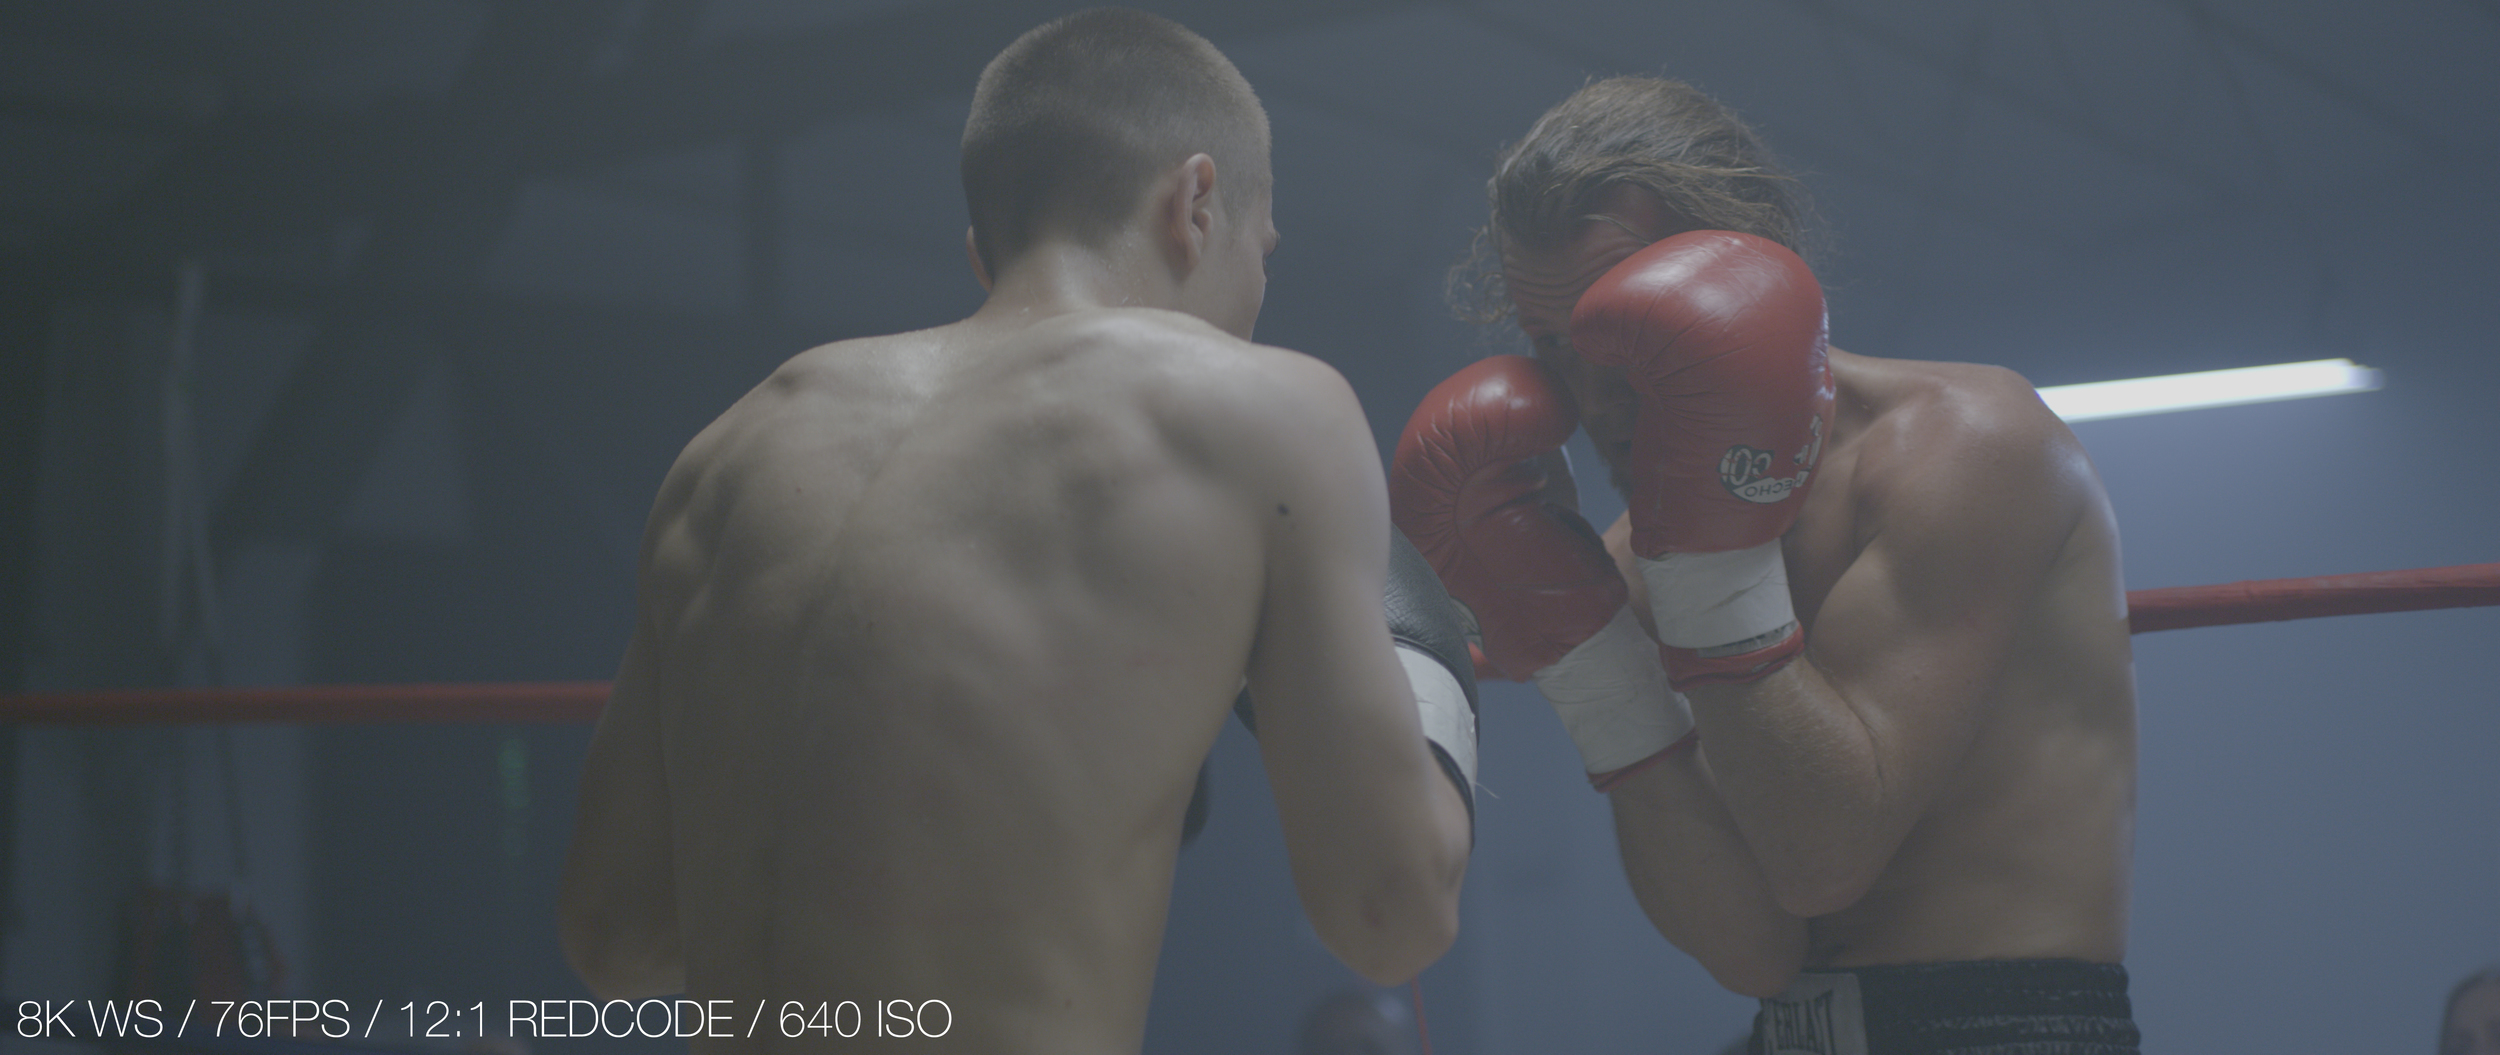
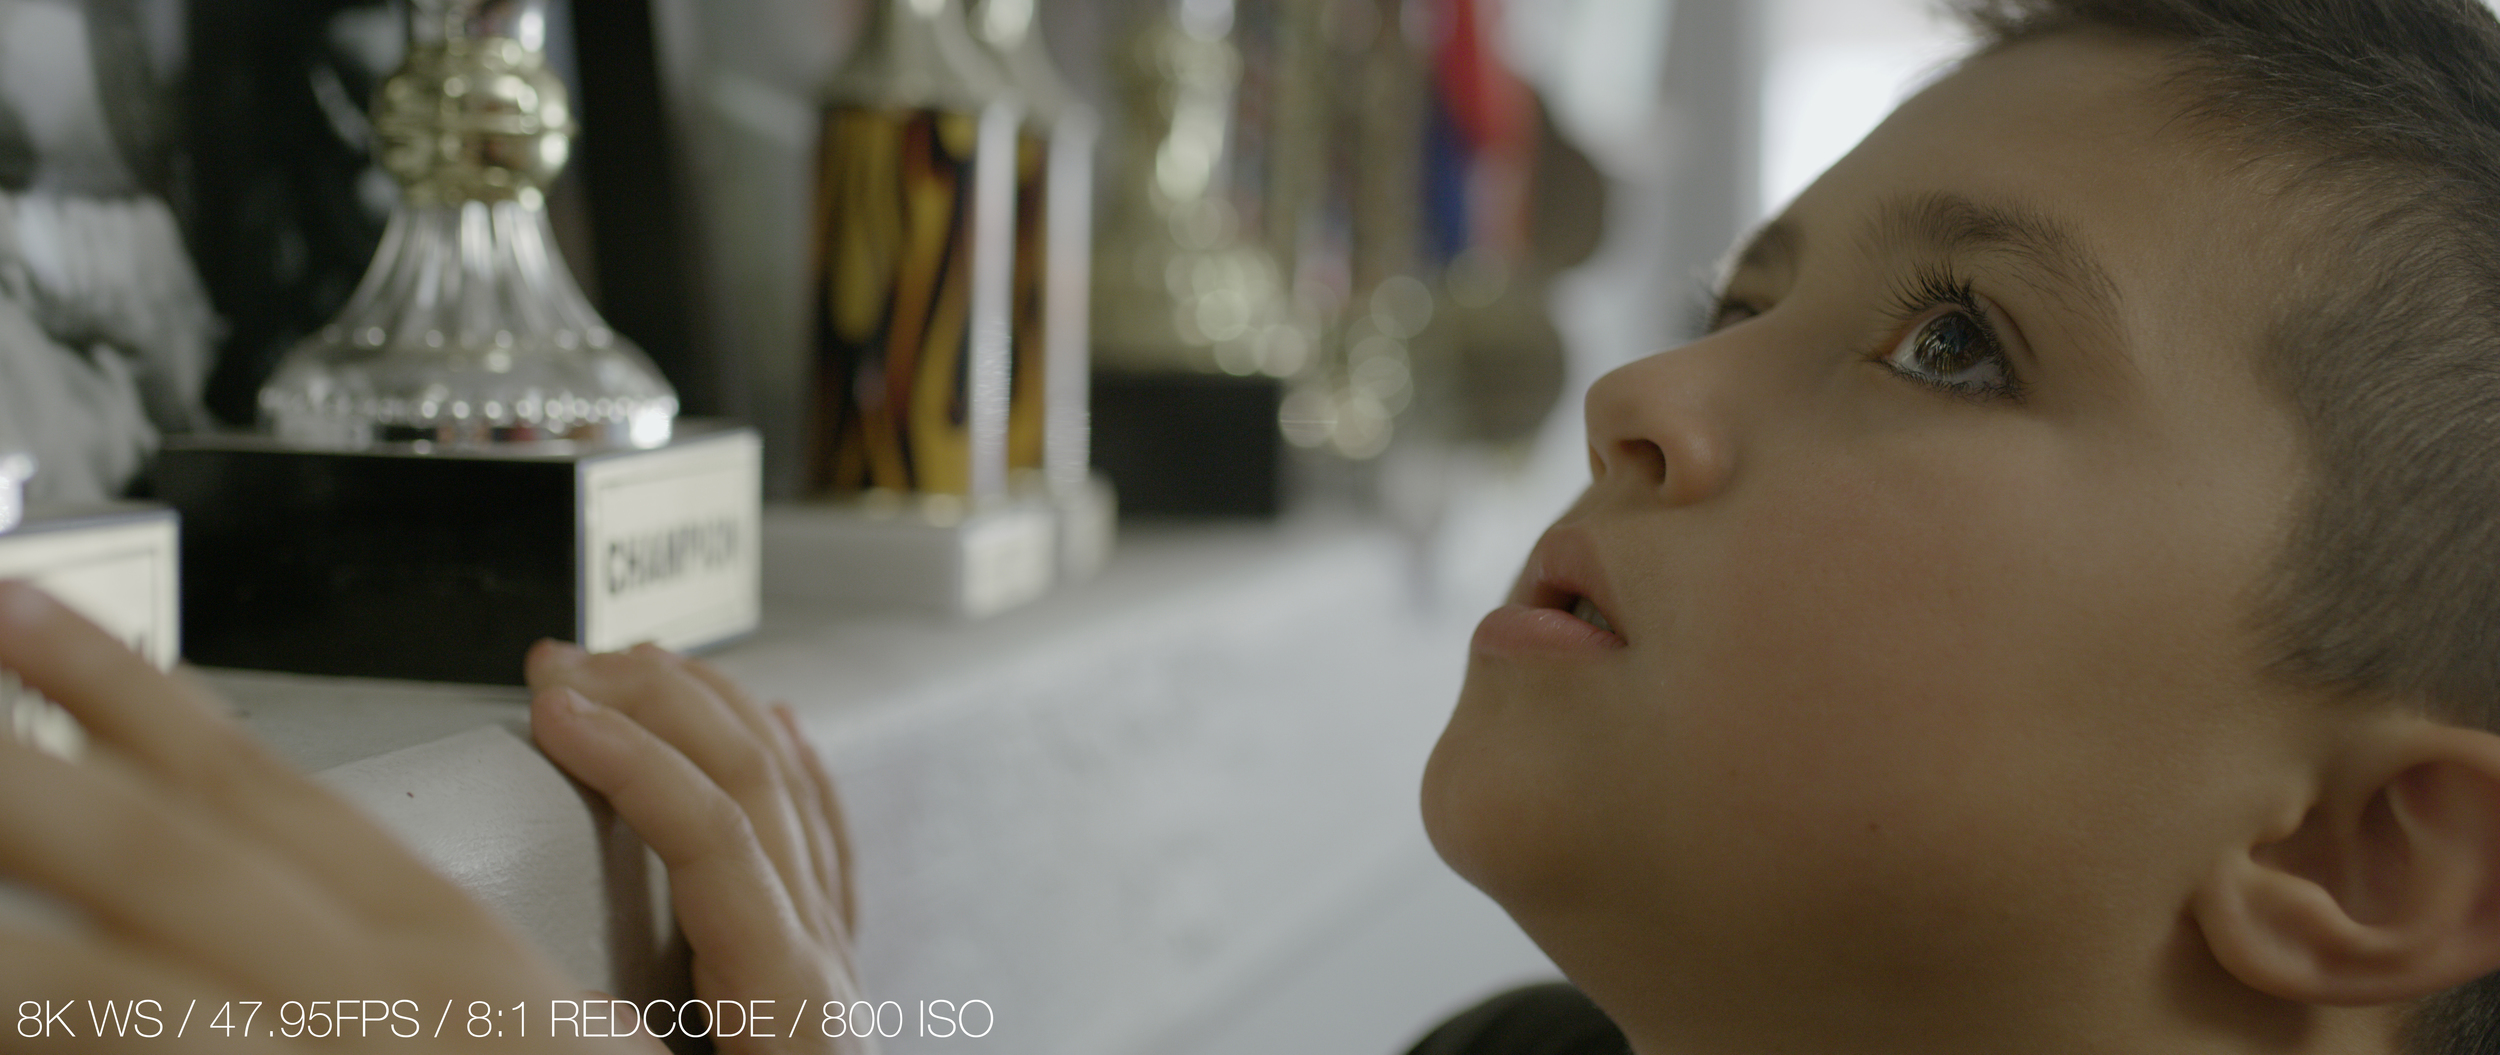
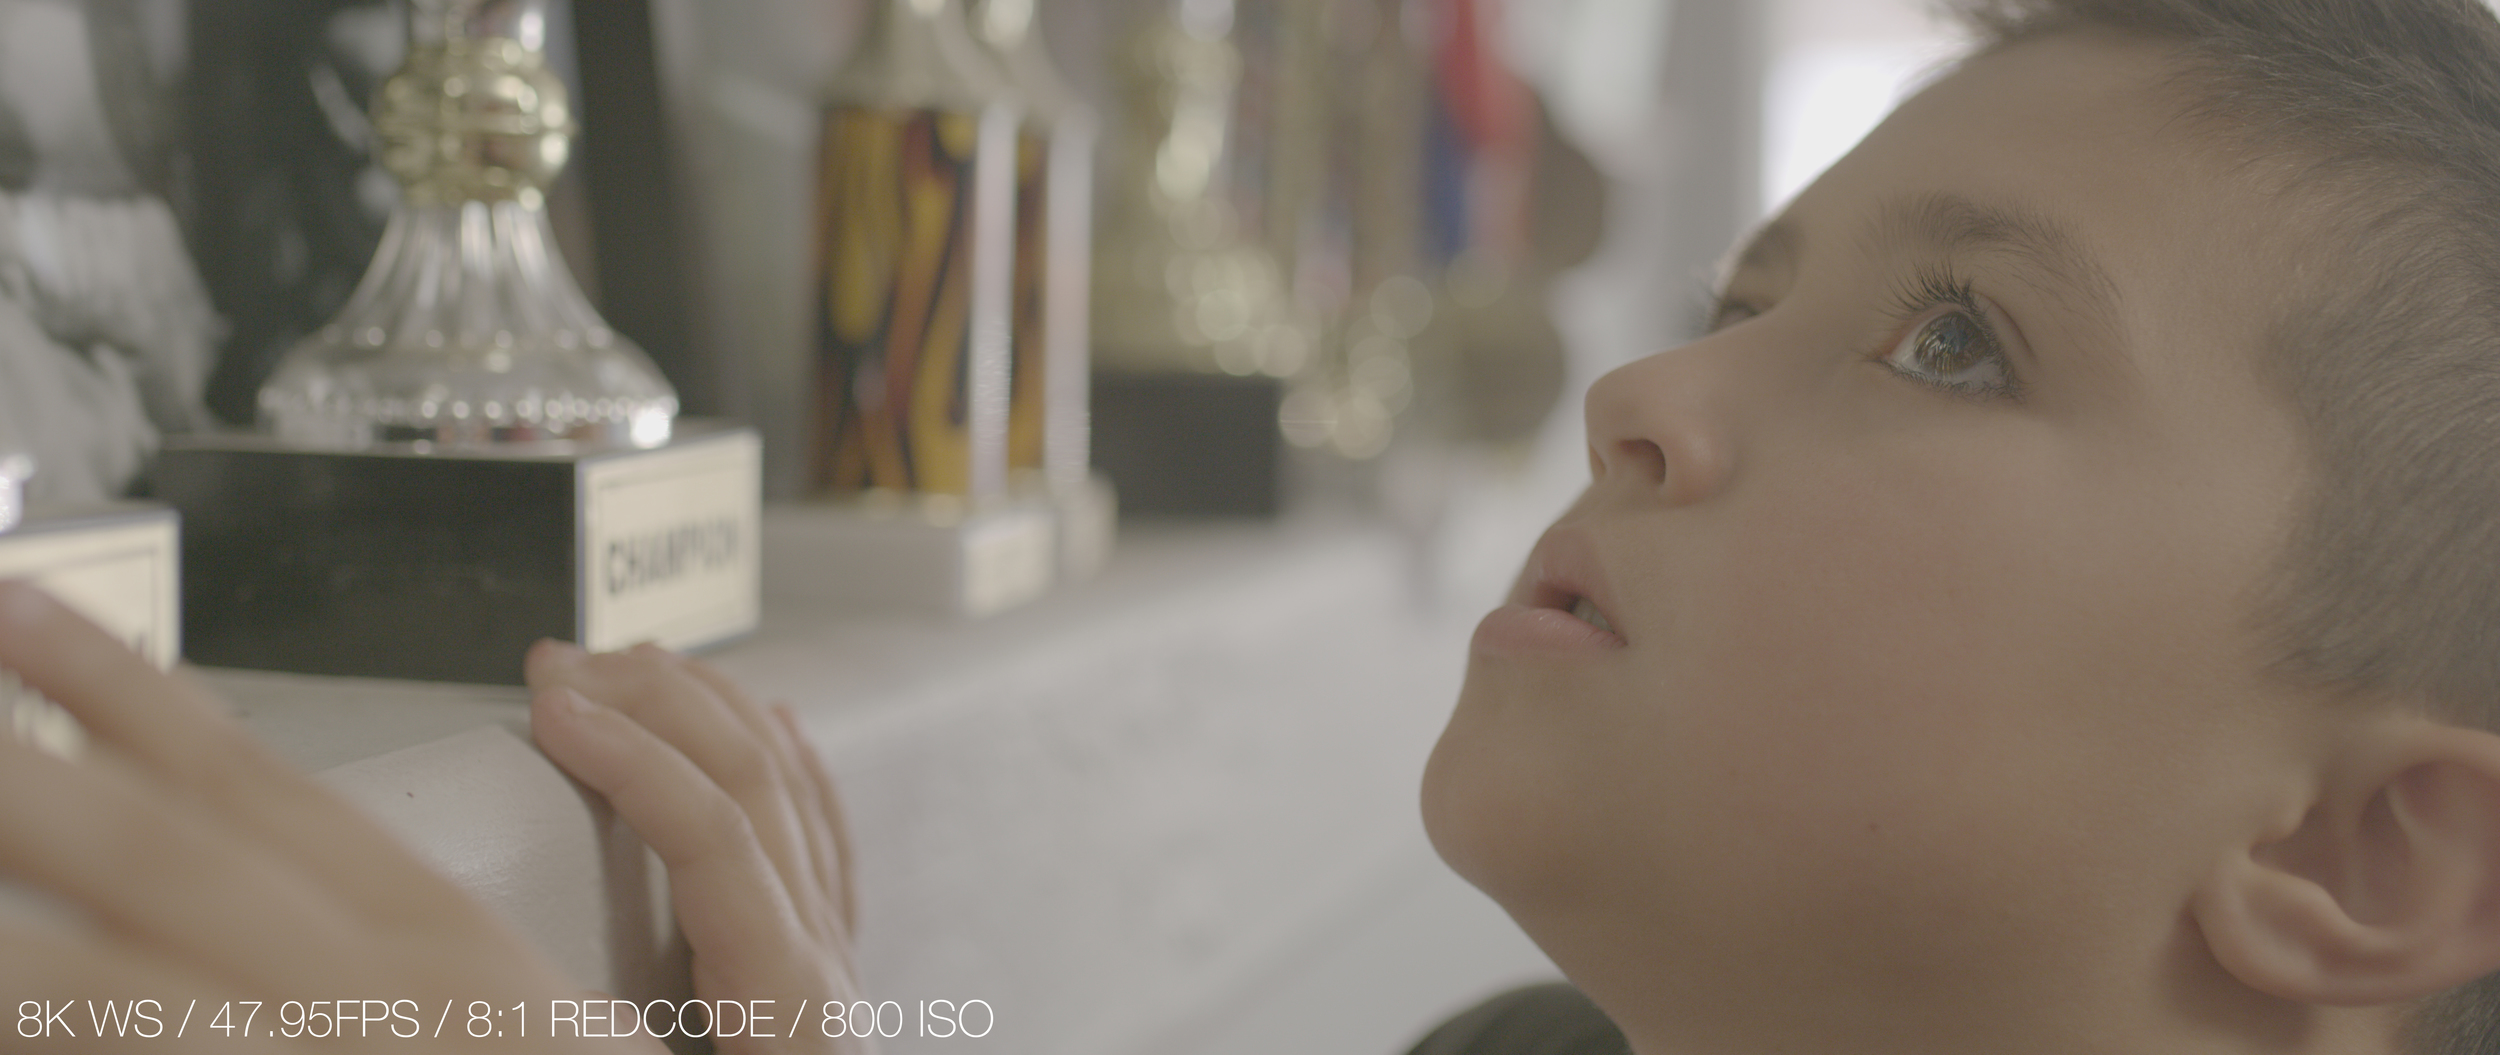
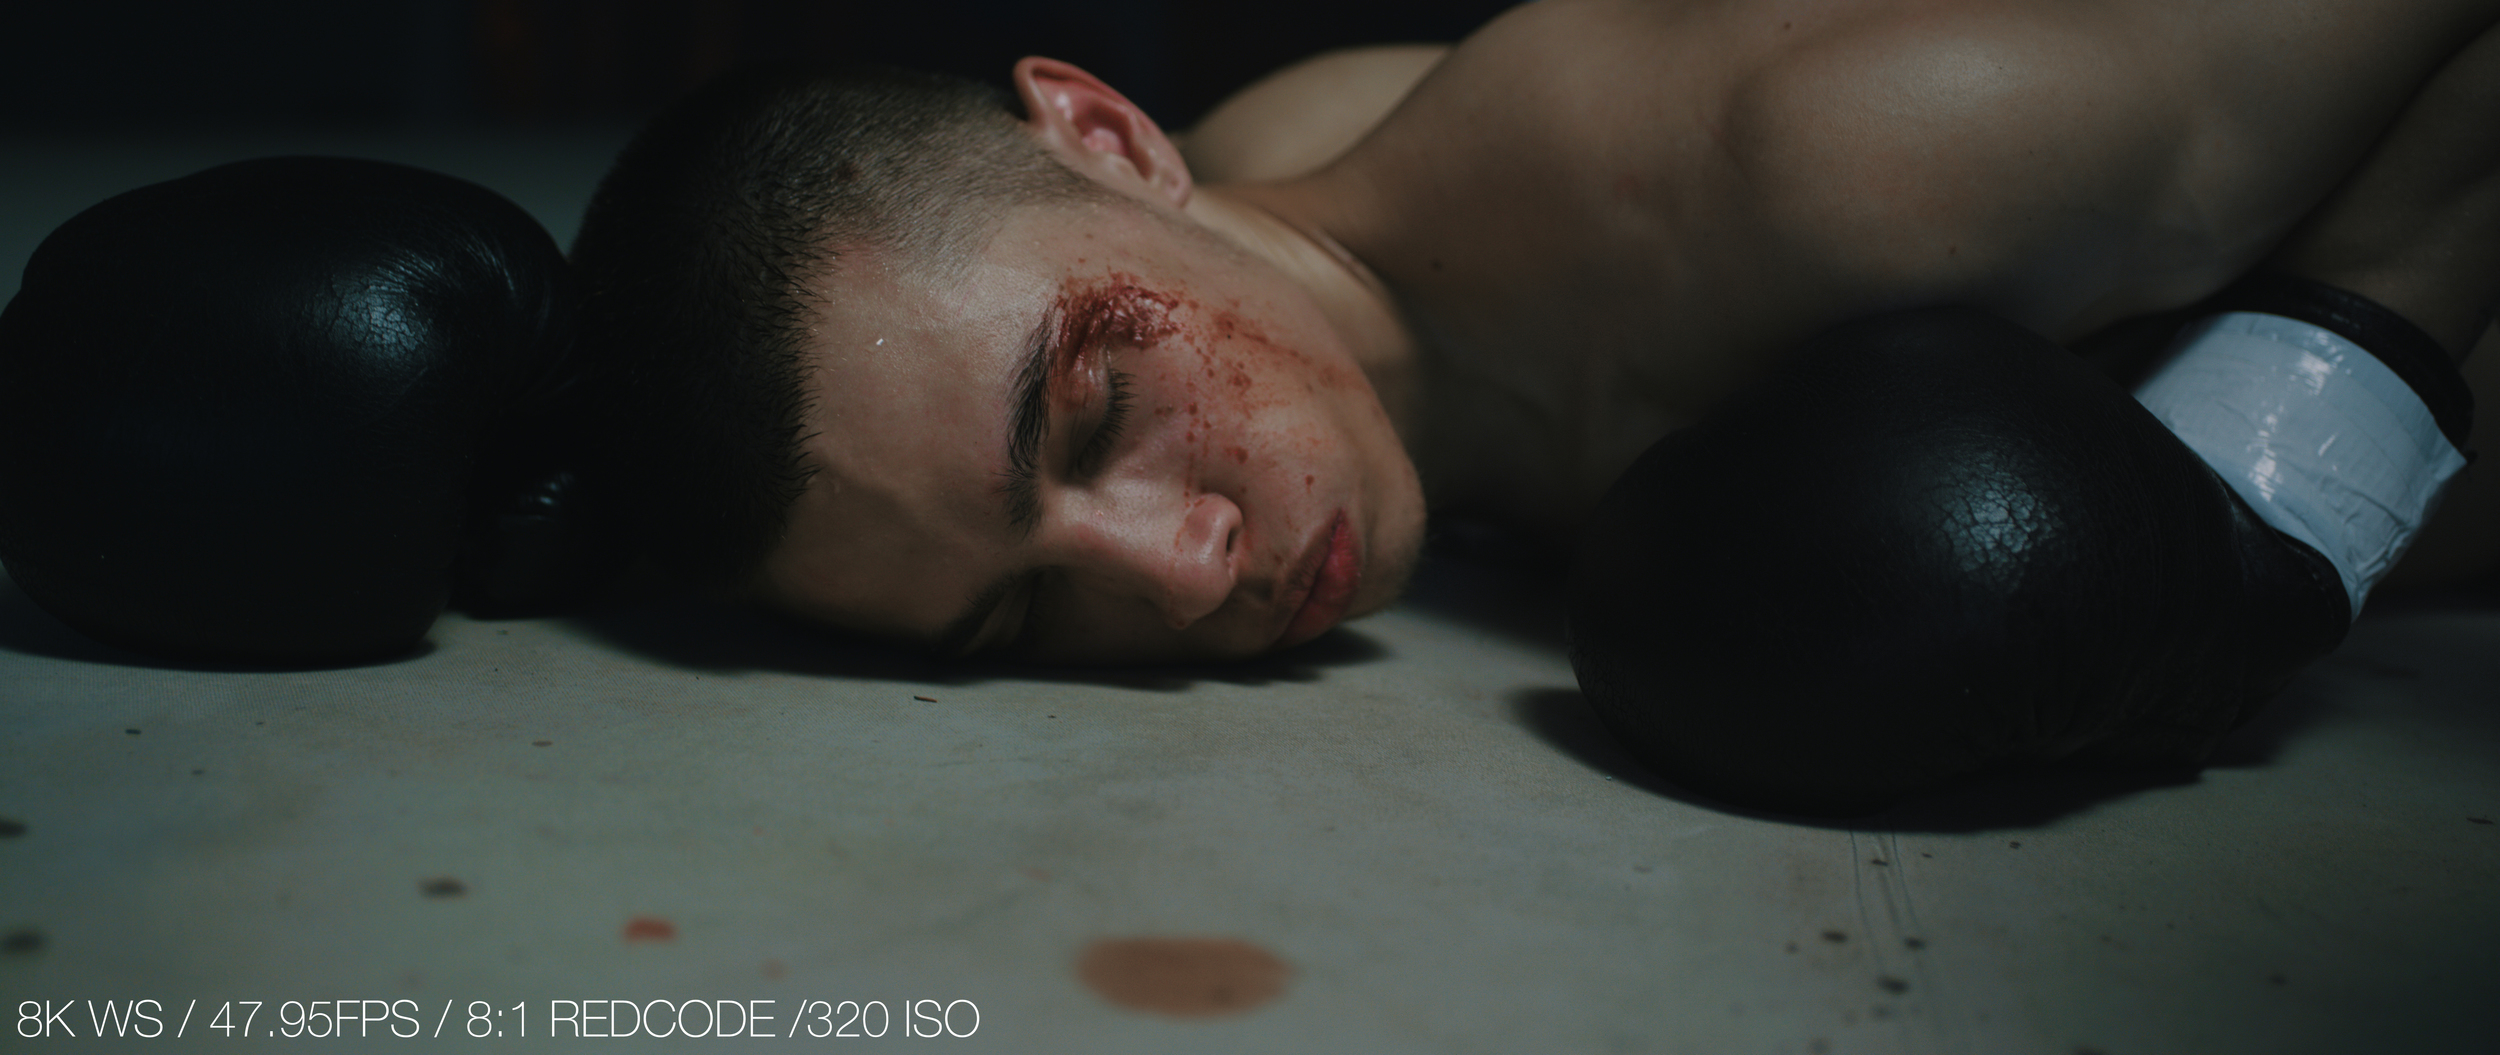
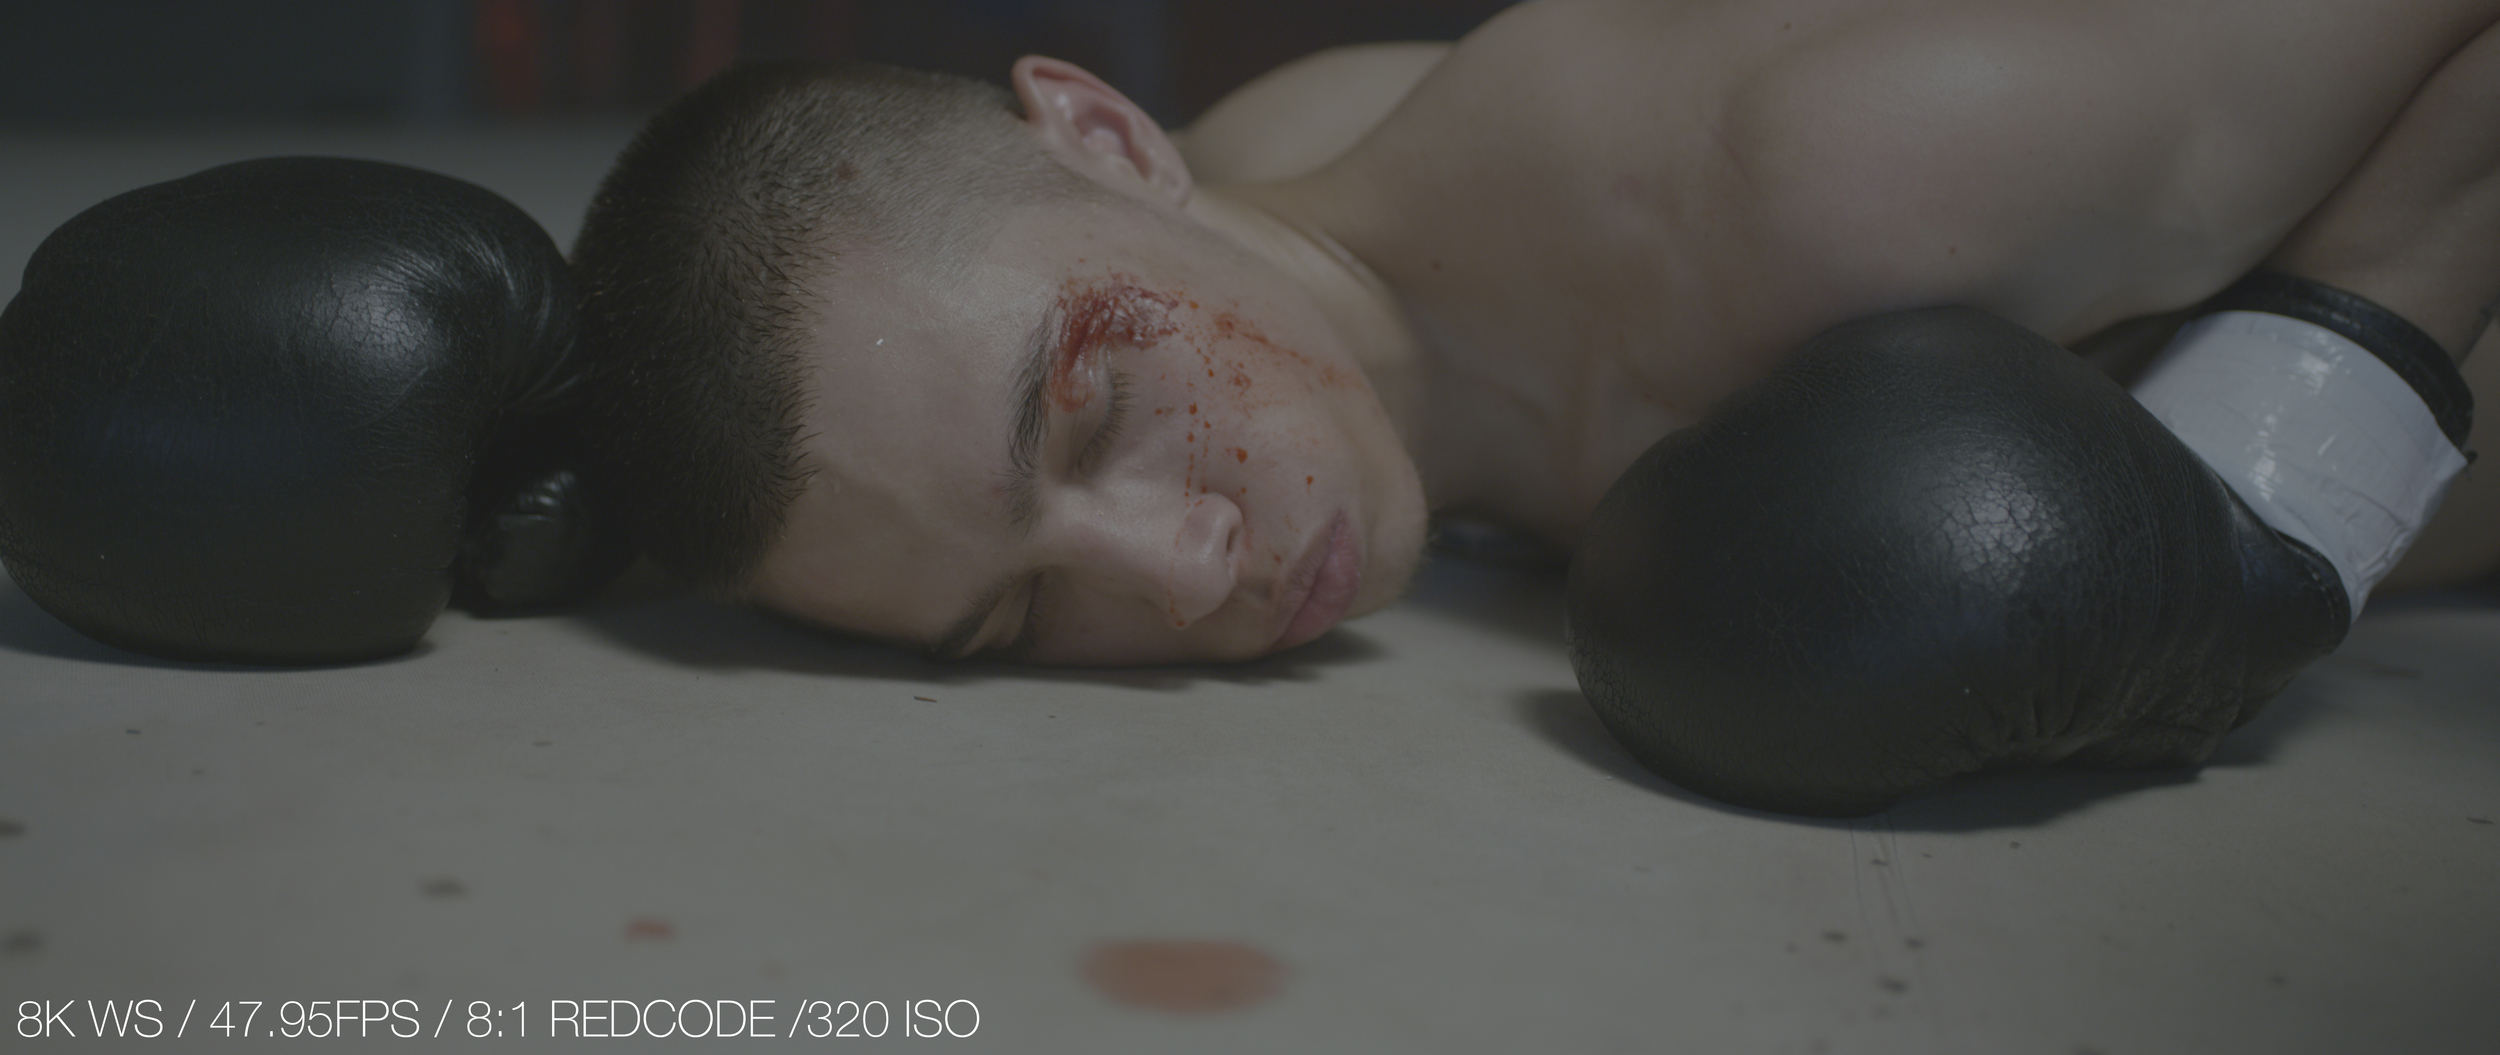
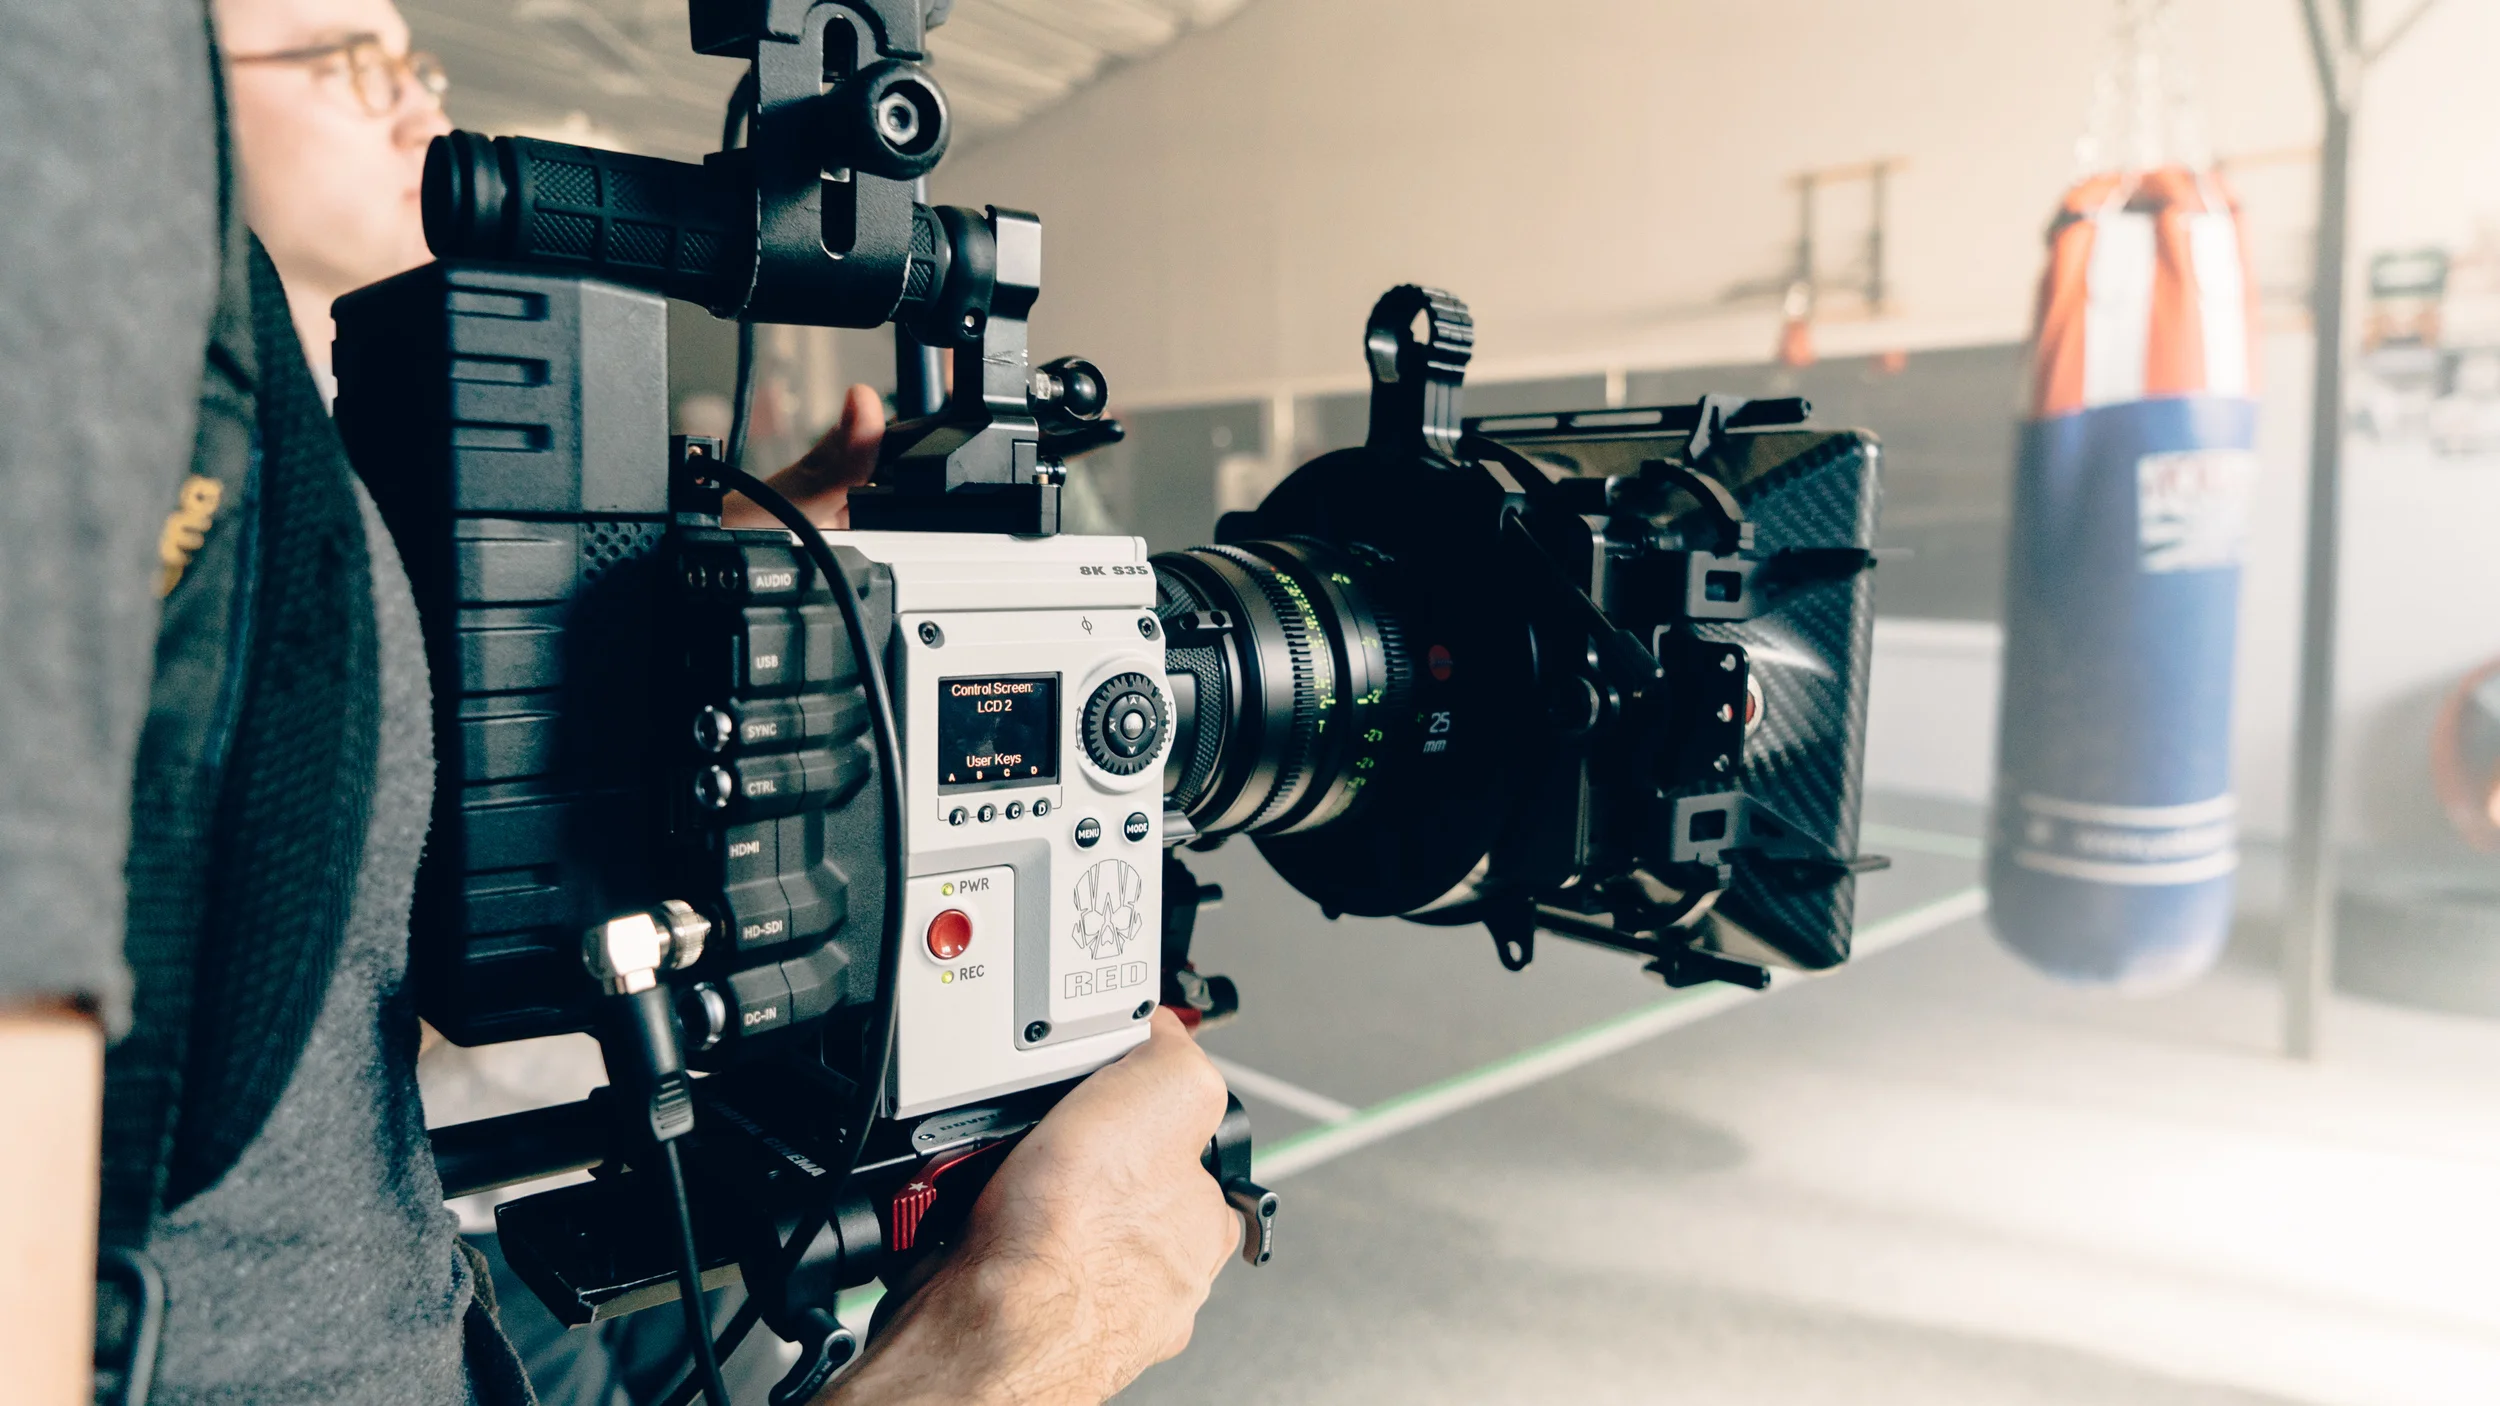
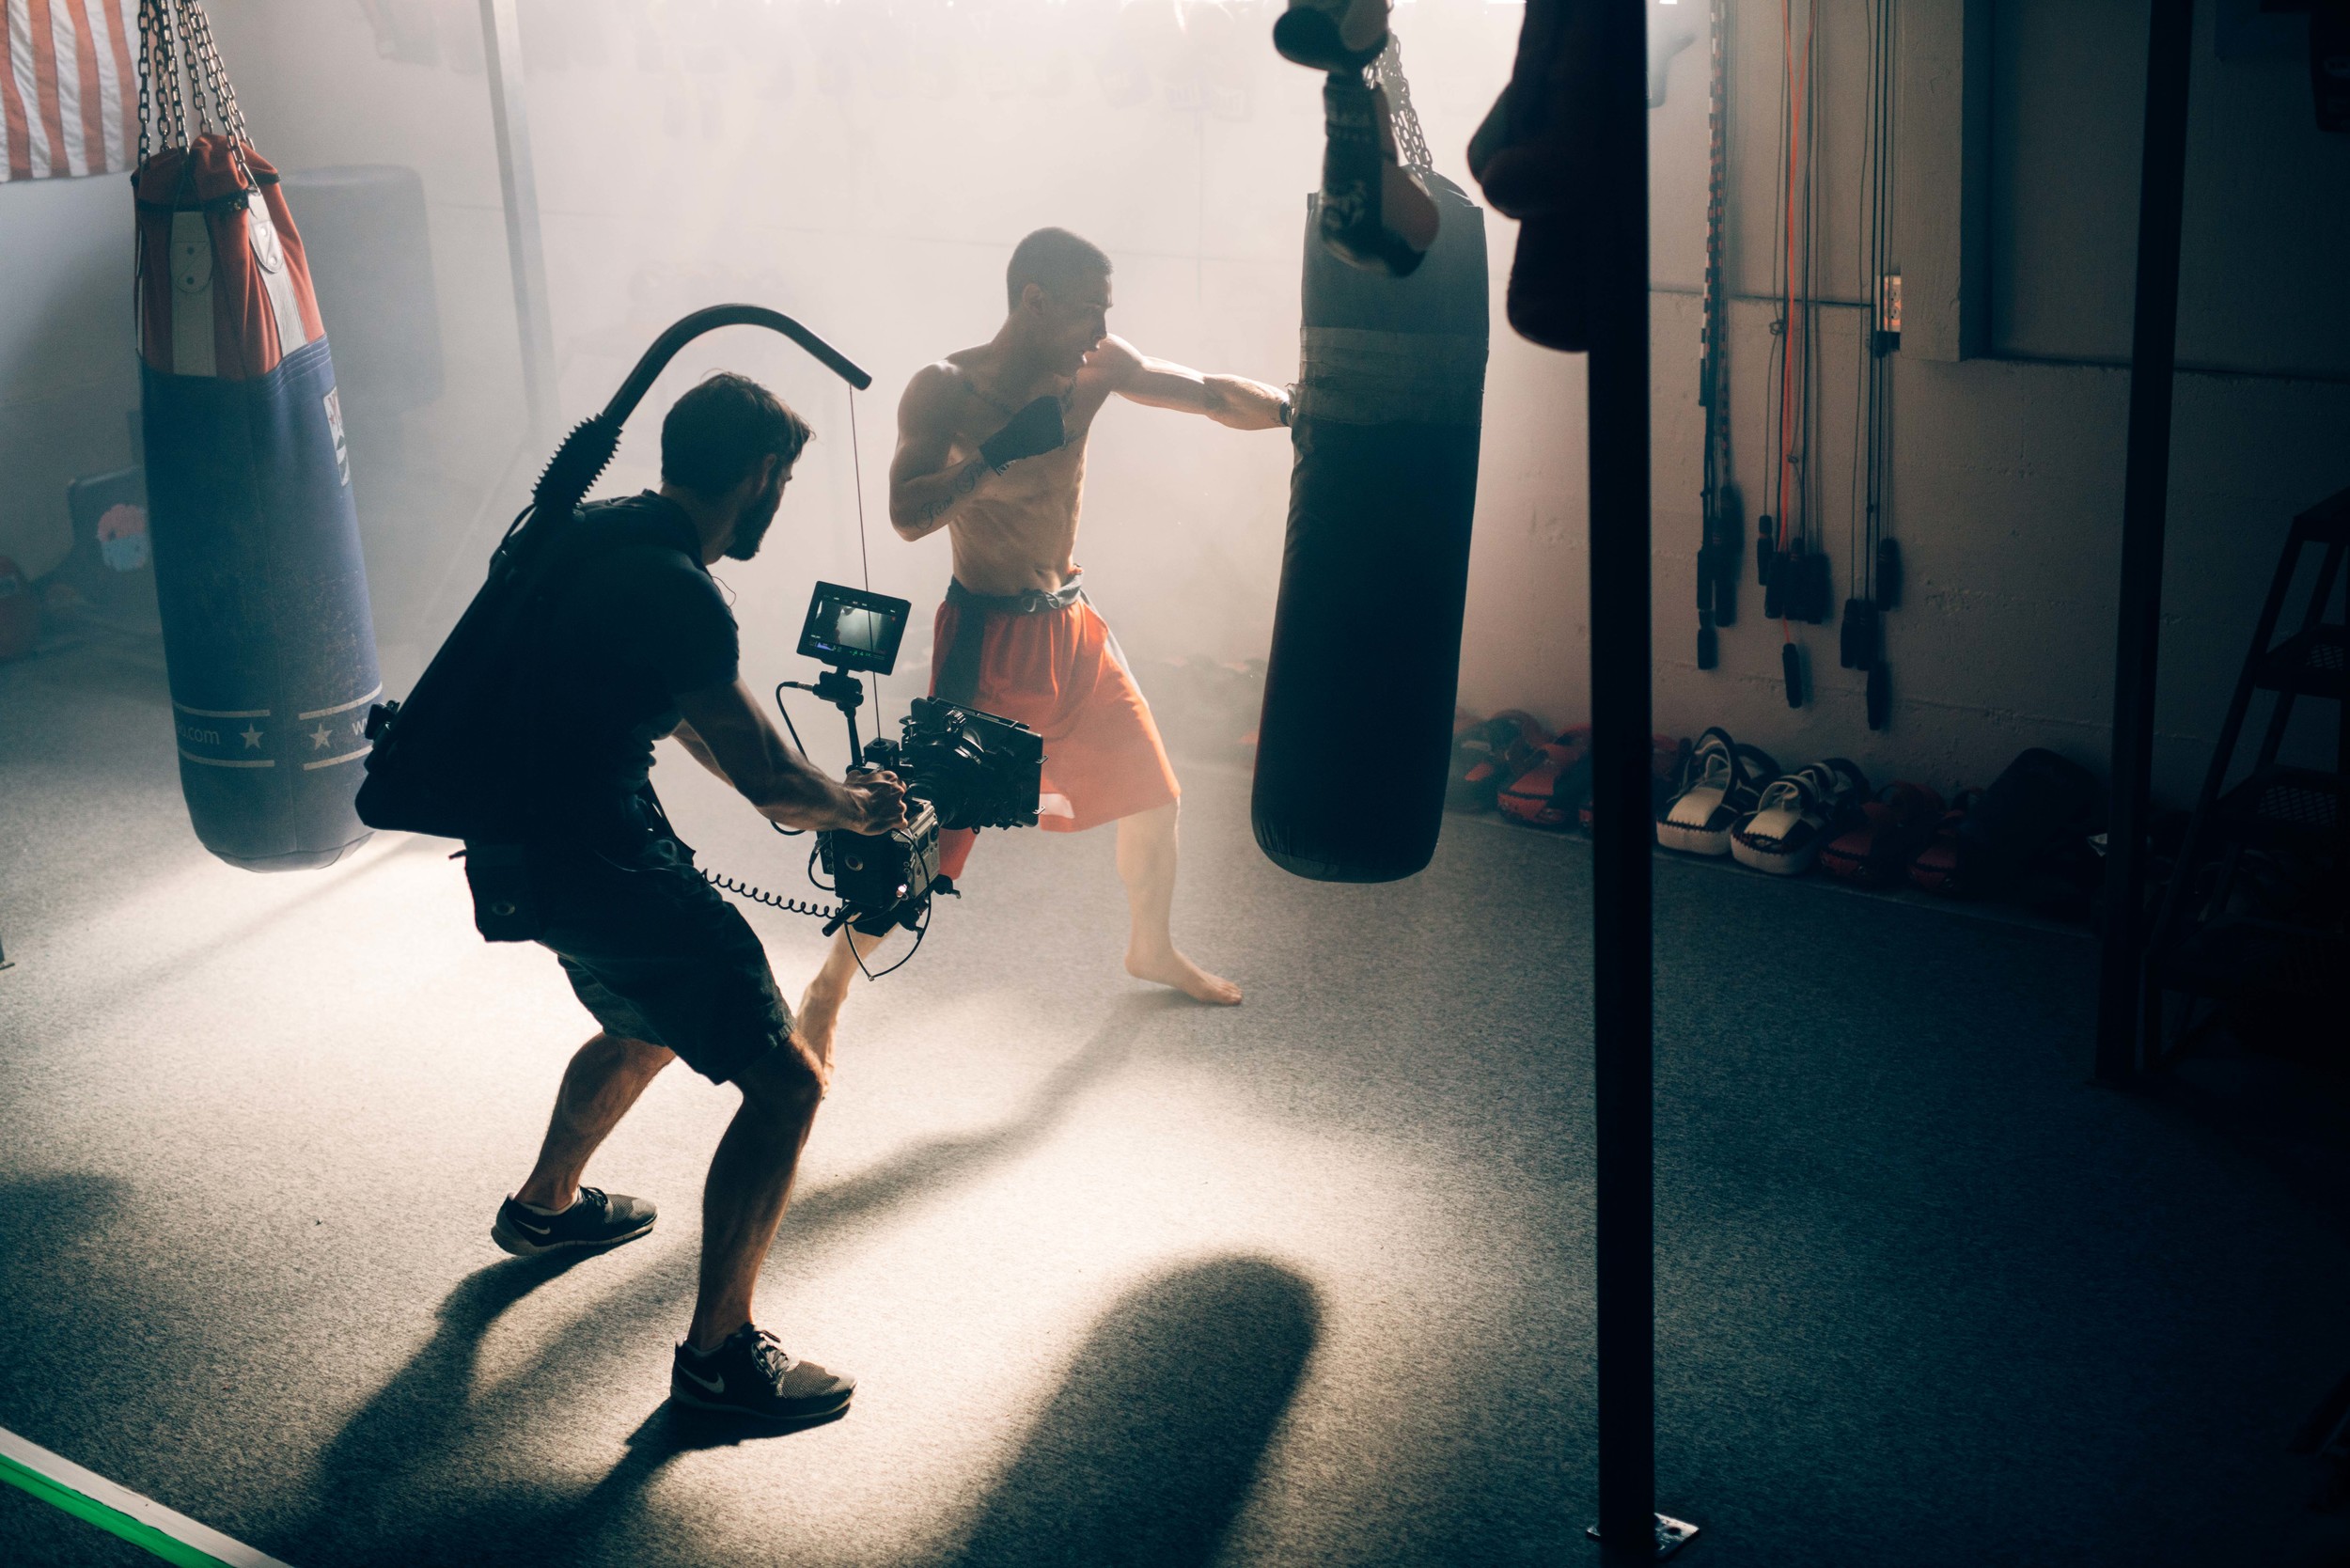
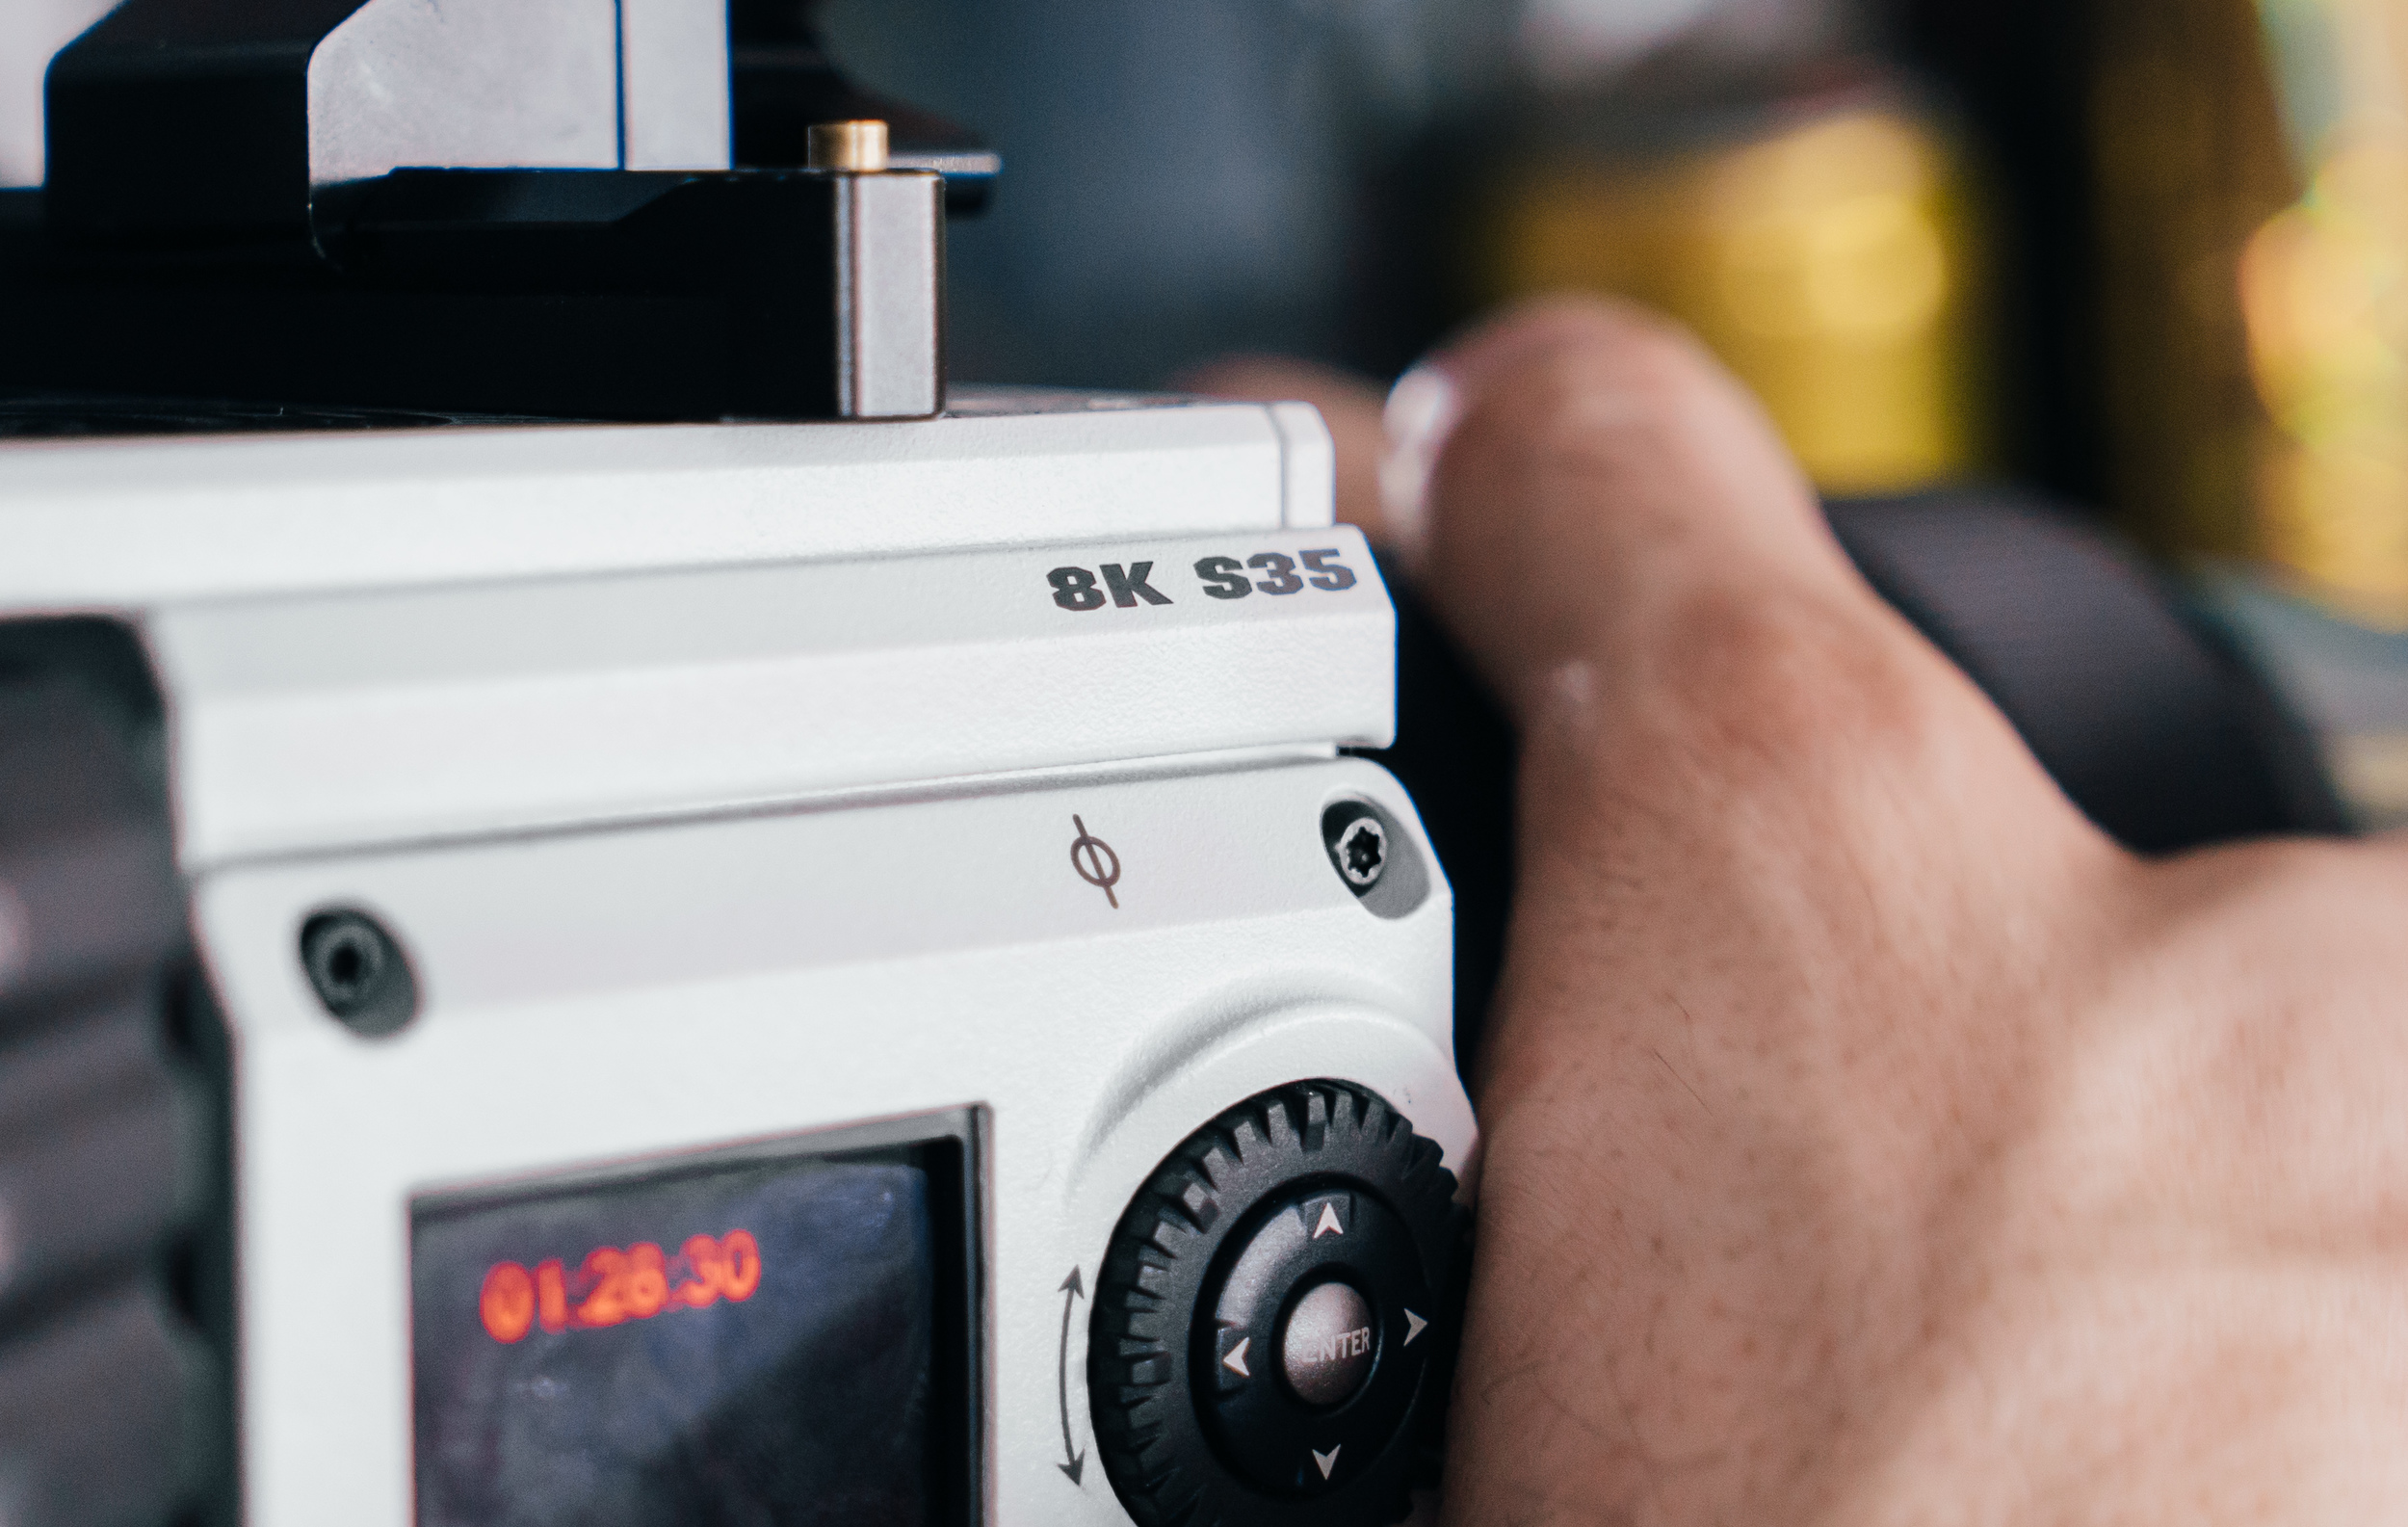
The Underdog | Shot on WEAPON with HELIUM 8K S35 Sensor

When given the opportunity by Jarred Land to shoot a video with the new RED Helium 8K camera, the first thing that went through our minds was all the different things we wanted to shoot with it. Right after that however, was how in the world would we edit it.

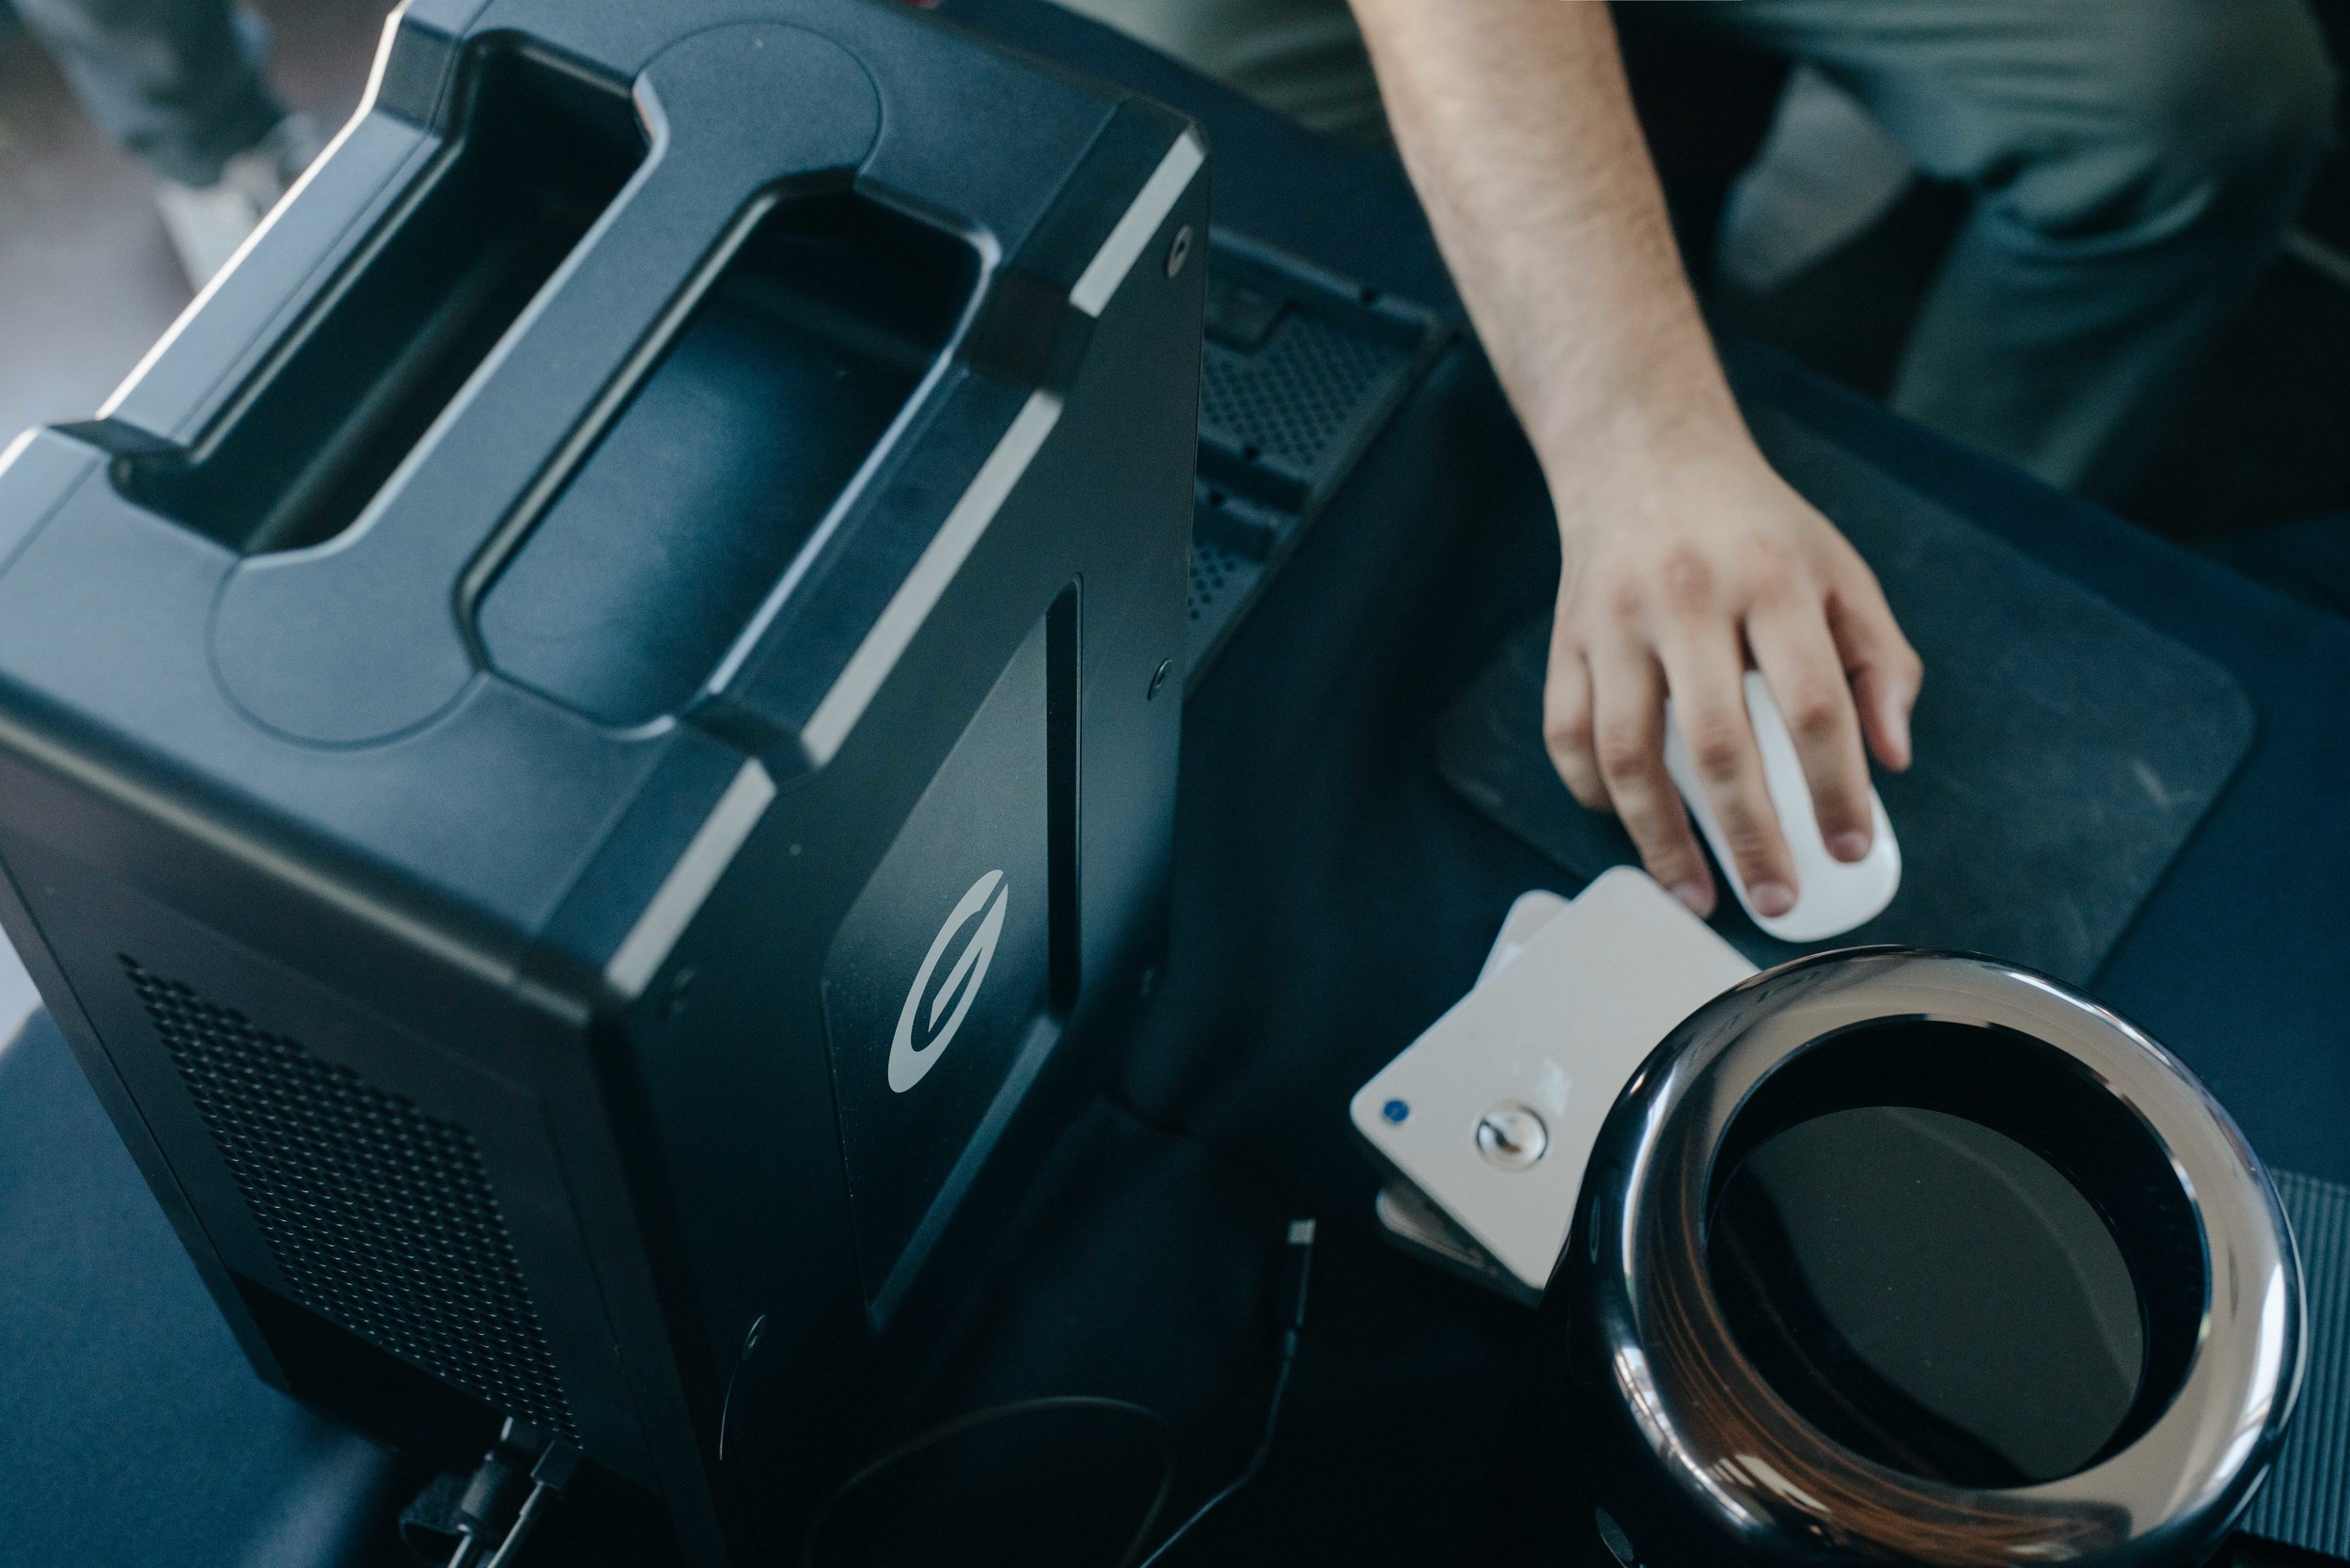
DIT Station
On the day of the shoot we set up our DIT station. Our setup included an Apple Mac Pro, a Dell 27" P2715Q Monitor and the 32tb G Technology G Speed Shuttle XL with two evSeries MINI-MAG Readers.
After the first few scenes were shot we took the Mini Mag and backed up the footage to the G Speed raid and a secondary backup drive. With the evSeries Mini Mag reader it took about 35 minutes to transfer 480gbs which was really impressive for the speed.

Once all the files were backed up we ran into the issue of codec support in Adobe Premiere Pro CC and REDCINE-X Pro. Luckily Dan Duran and Kris Prygrocki two of the RED techs brought an unreleased version of REDCINE-X Pro for me to install. It's currently released now as build 41. The 8K r3d files opened with no issue and I was able to play the footage at 1/4th without any buffer issues.
I sat down with them and they ran through a couple export versions of proxy files for me to edit off of. We exported a 1 minute 8K ProRes 422 clip and it took about 5 minutes to export. Meaning that if we were to convert all of the clips to 8K ProRes, it would take too long and we might not hit the 24 hour deadline. After running a 4K ProRes 422 export and a 2K ProRes 422 LT export of the same 1 minute clip, we decided to transcode all of the files to the 2K parameters because it only took 1 minute and 15 seconds to transcode the clip. As close to real time as it gets. We created a 2K ProRes 422 LT export preset and began transcoding all of the footage.
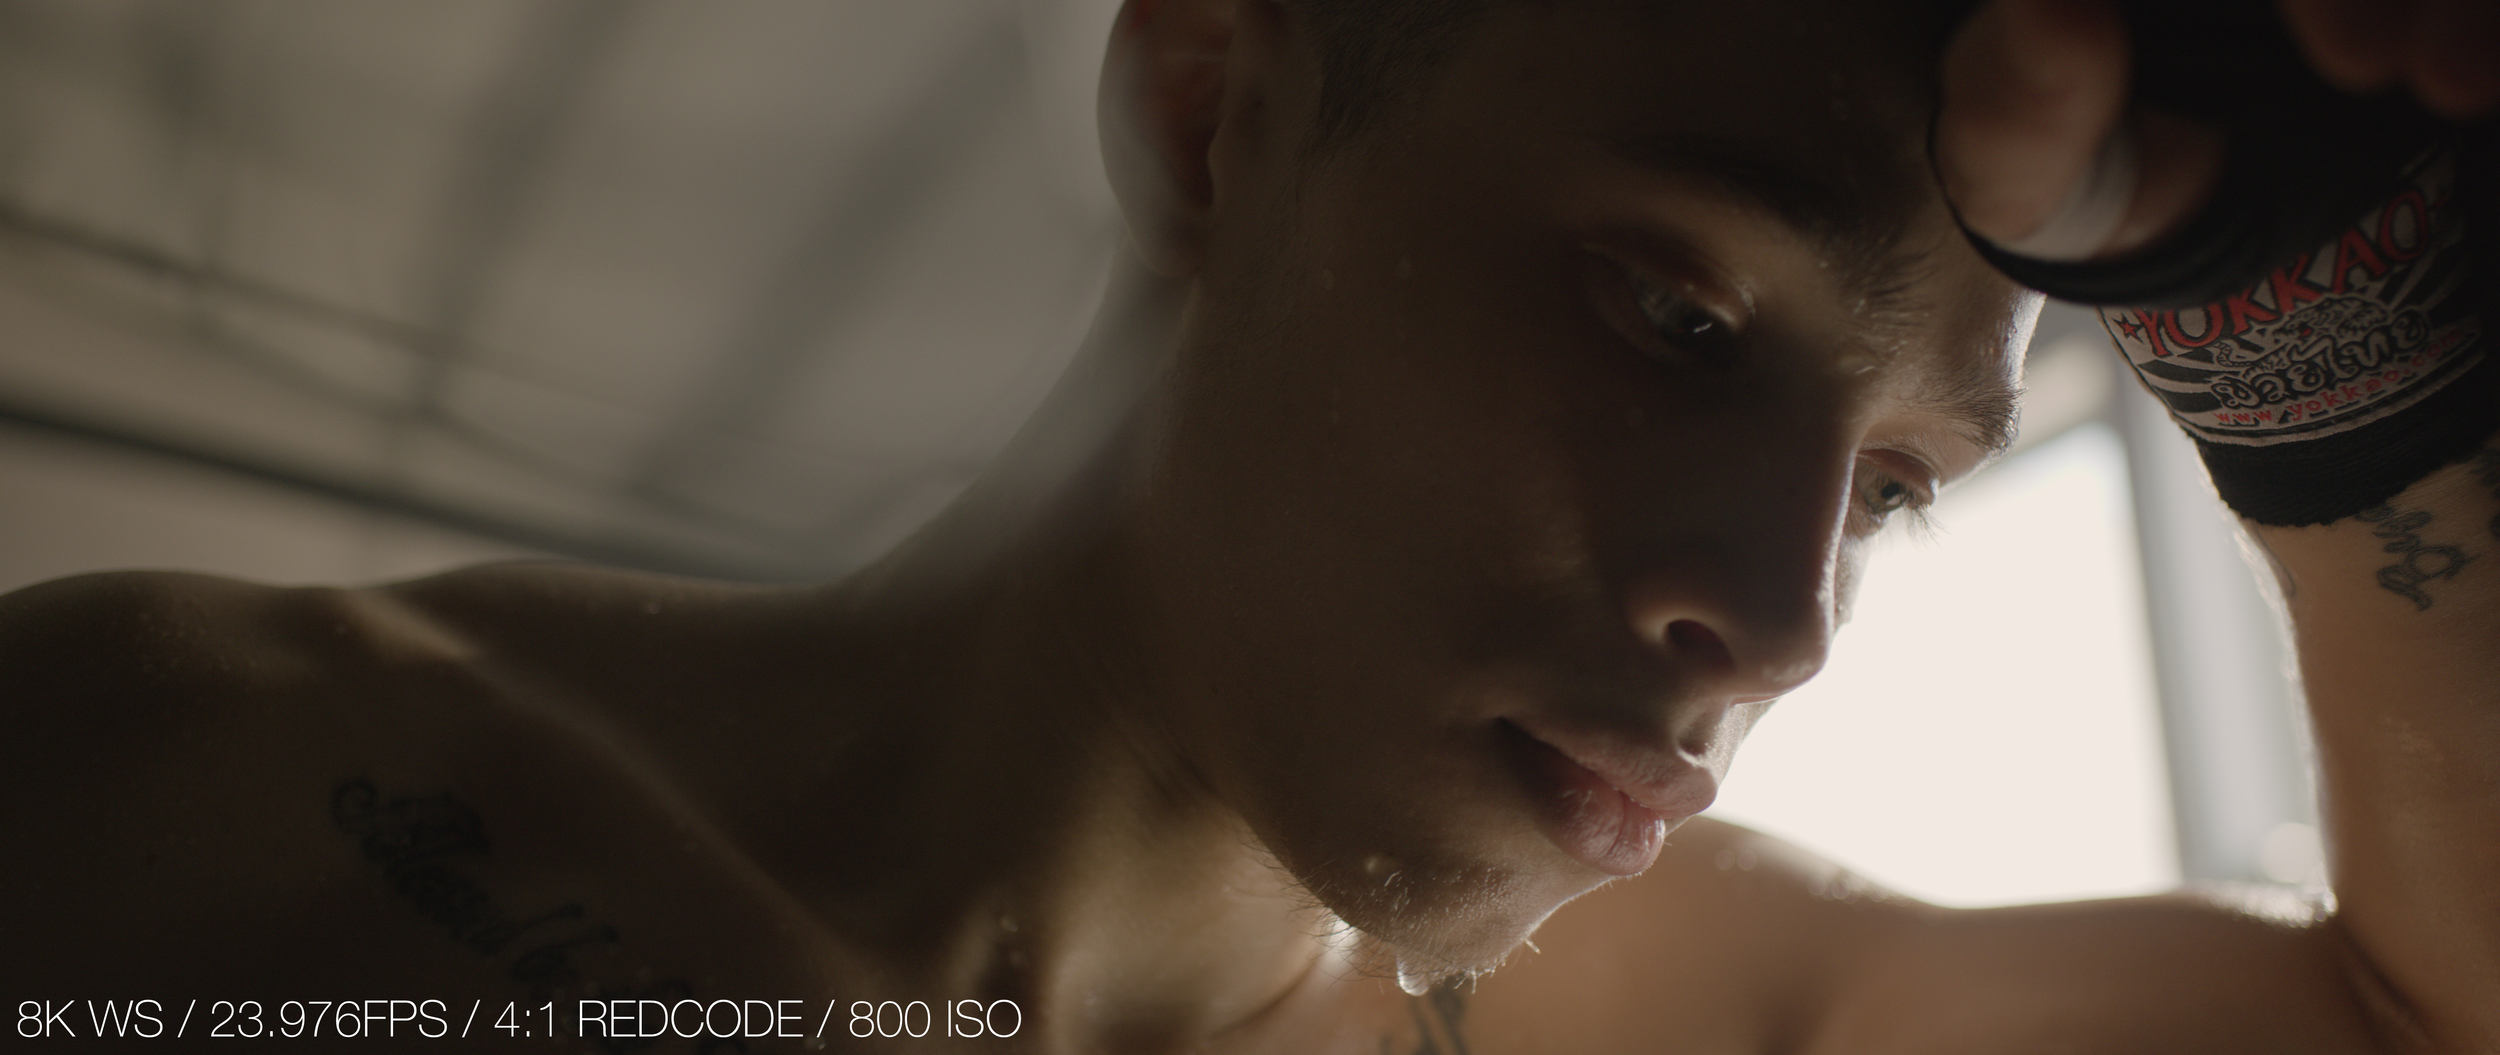
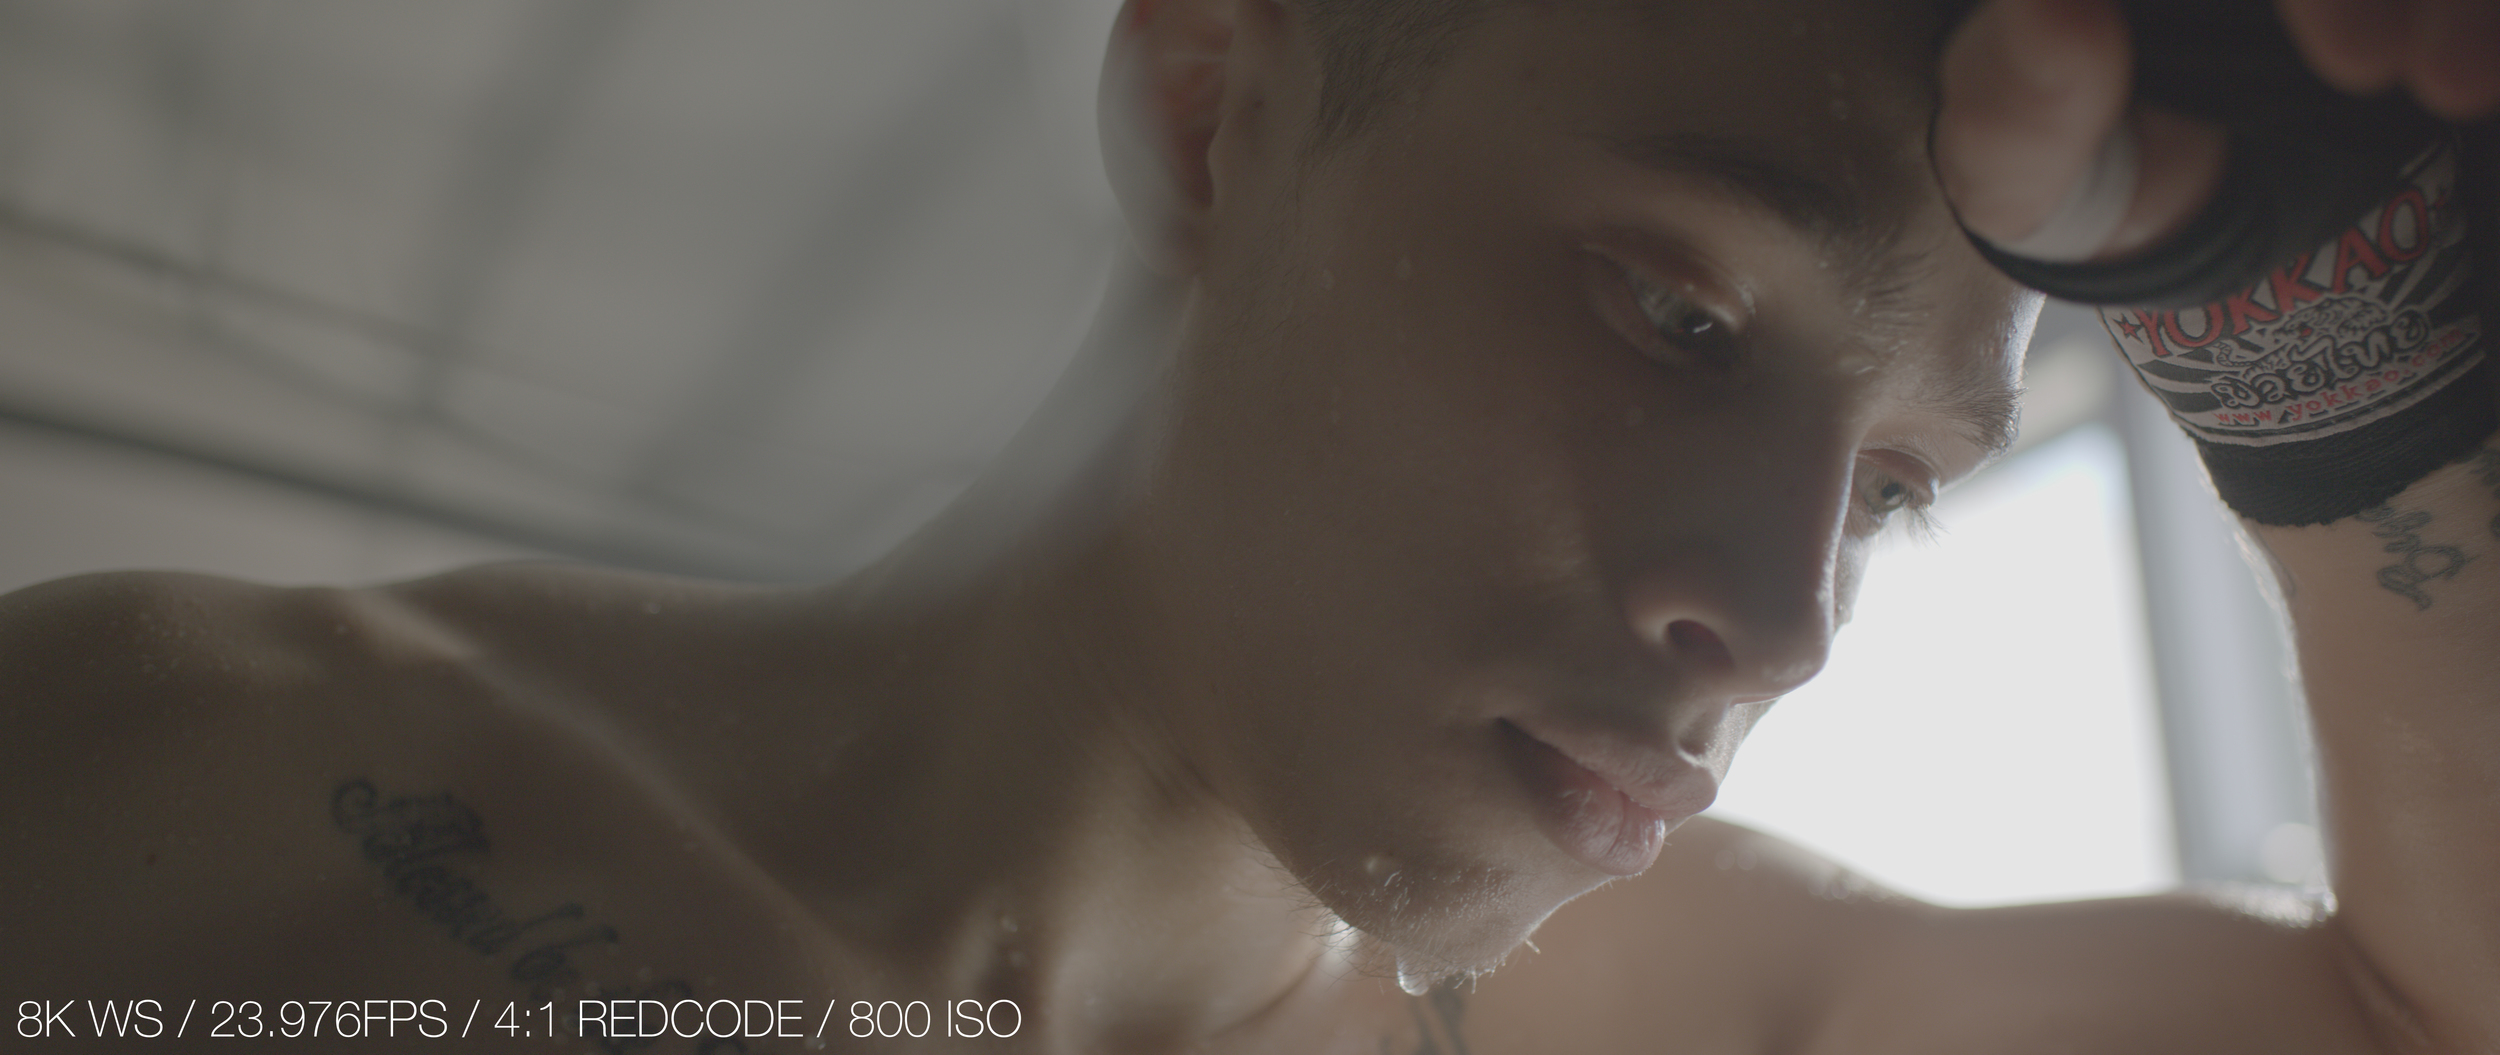
We transferred and backed up every 4 scenes so that we were multi-tasking while the shoot was happening. I imported each media dump 2K proxy into Premiere Pro and created an 8K timeline based off of the first 8K ProRes clip we created. While the scenes were being shot I was creating shot selects from each media dump. Halfway through shooting we took a break and looked over the 8K r3d files in REDCINE-X Pro. We were stunned with the resolution of 8K. The dynamic range that the Helium 8K sensor records is phenomenal and the skin tones were incredibly accurate. We were in awe of the footage that was captured and couldn't wait to share it with the world.
After the madness of shooting for 21 hours, I had all of the media backed up, transcoded to 2K, and had all of the shot selects in the editor. It was 3:30 am Wednesday morning, the fun part of shooting with the Helium 8K camera was over and now it sank in that we have 24 hours to cut the main edit, color, do sound design, and get it approved. Luckily during all of the planning and production, Julian Cisneros the composer for the Underdog track had the final song sent over around 1 am on Wednesday morning. I remember the moment he sent the email and we were shooting the final fight scenes. The director, Jonny Mass, and I opened up the song and started listening. It sank in that all of the final pieces were falling into place. We listened to the song as the crowd was cheering and it fit perfectly. Everyone was all smiles.

3:30 am Wednesday morning we wrapped and I was home around 7 am after cleaning up the set with the rest of the crew. I took a 3 hour nap and met Jonny at our office around 10 am. We began editing the first cut, all of the shots dropped into the timeline and fit perfectly with the music. The first cut was complete by 1 pm Wednesday, it was pretty much locked at that point!
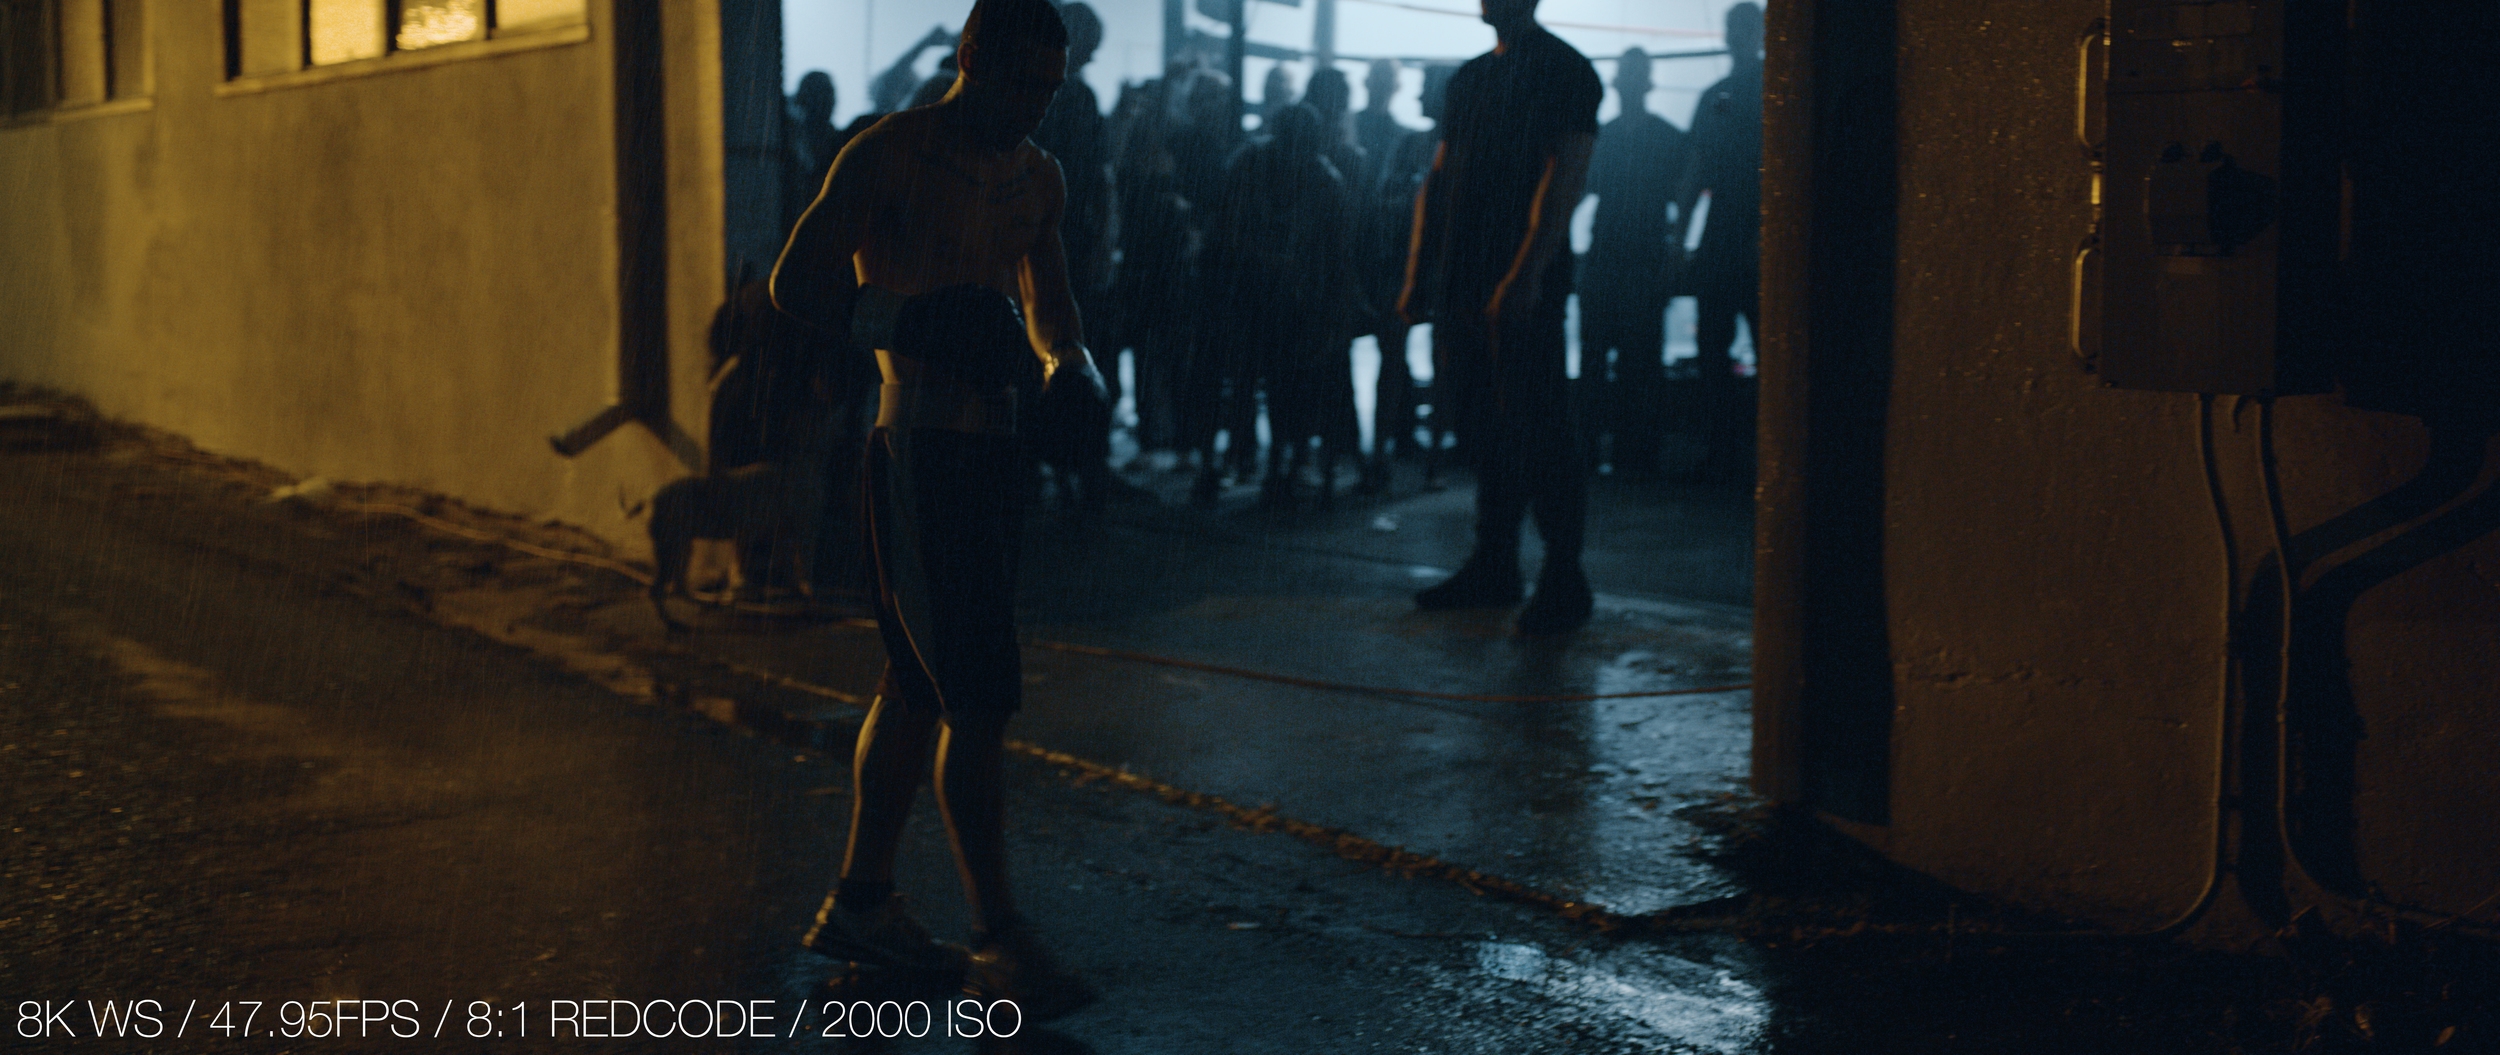
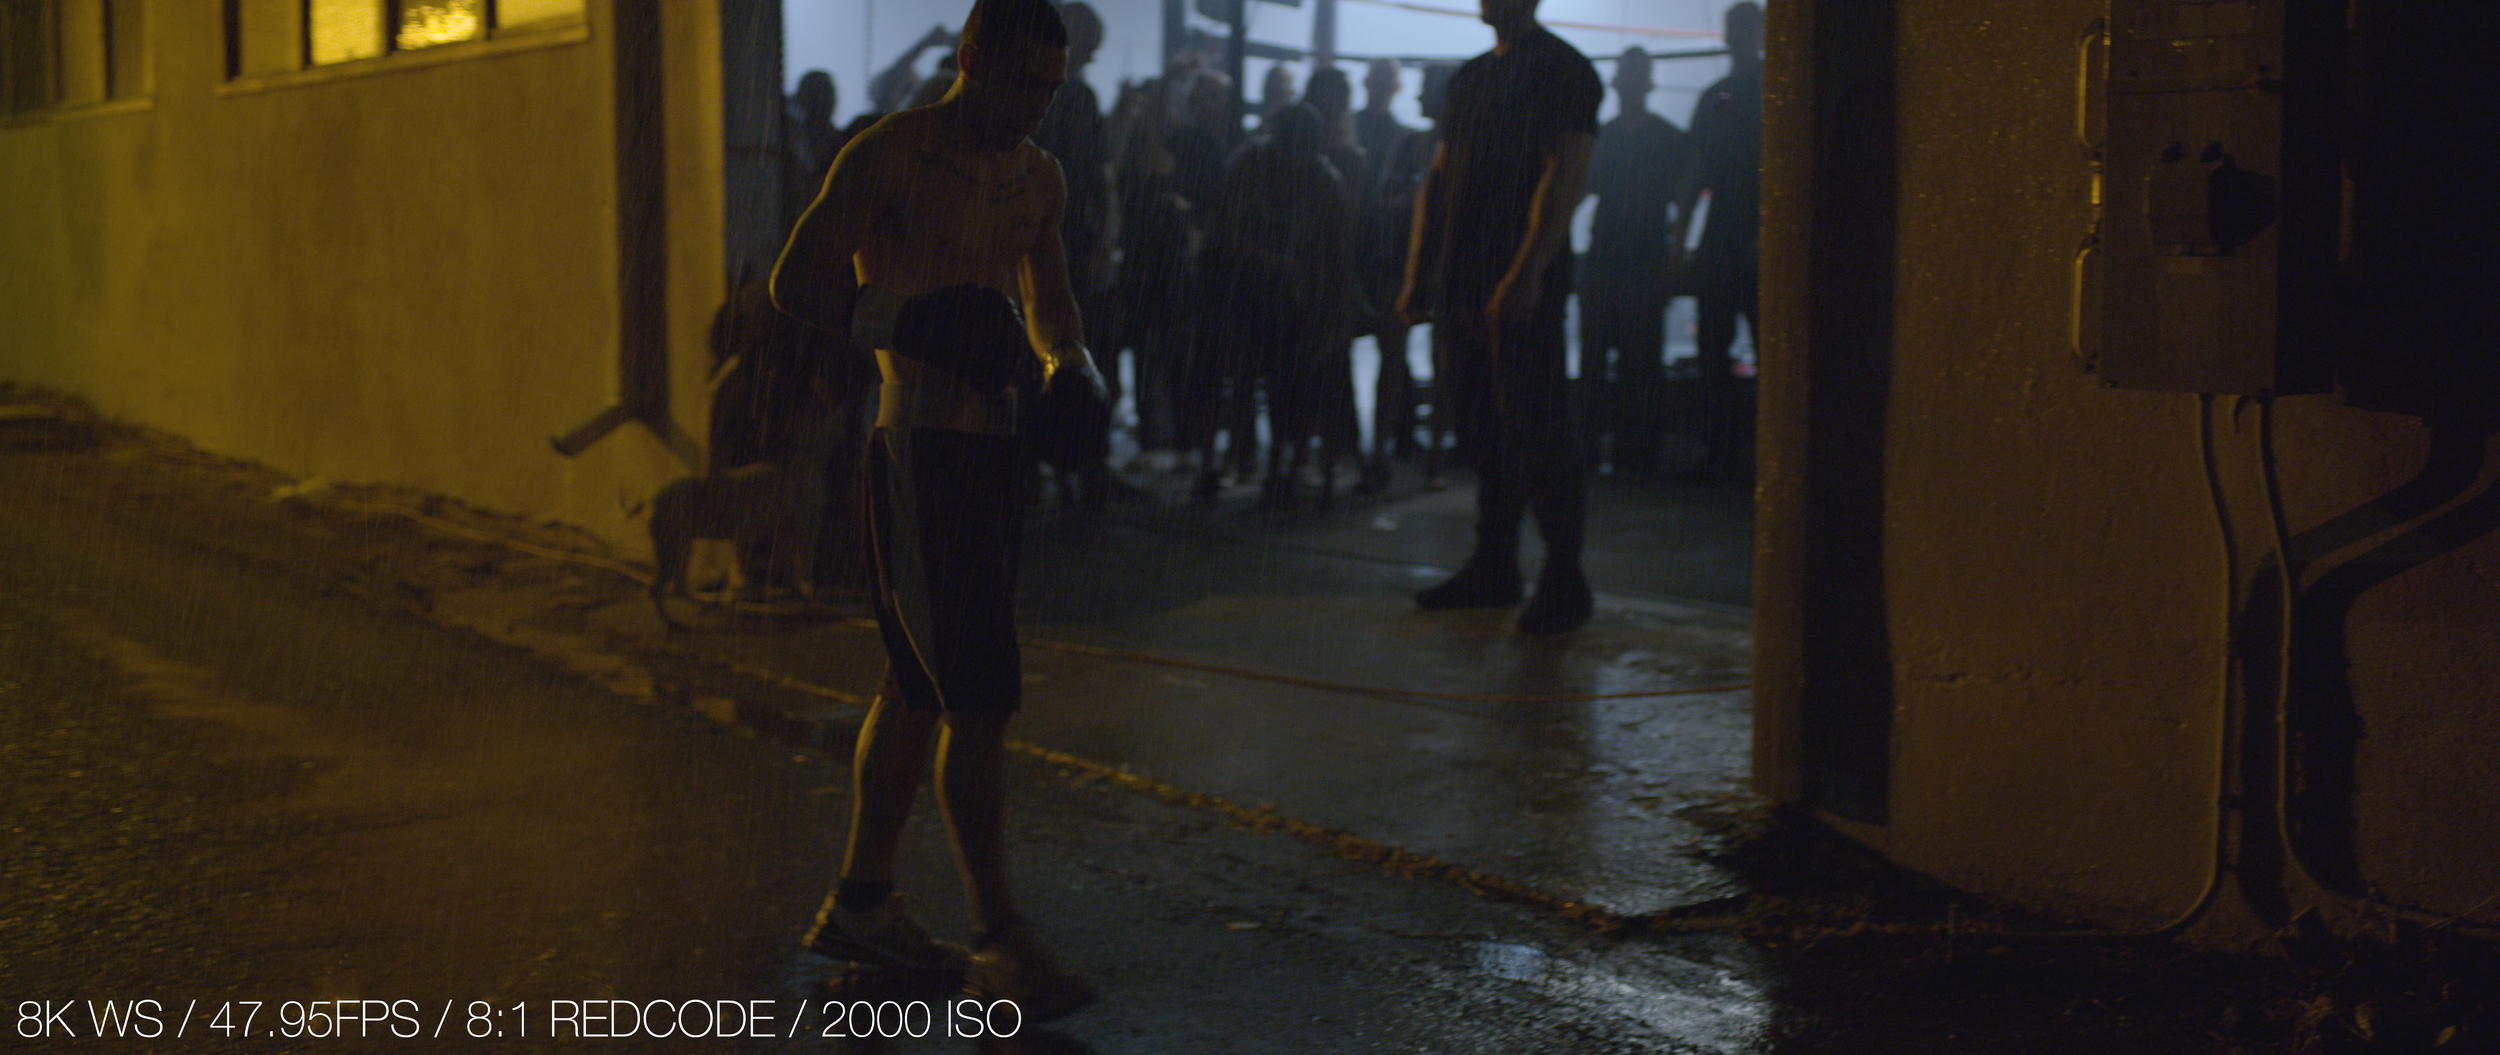
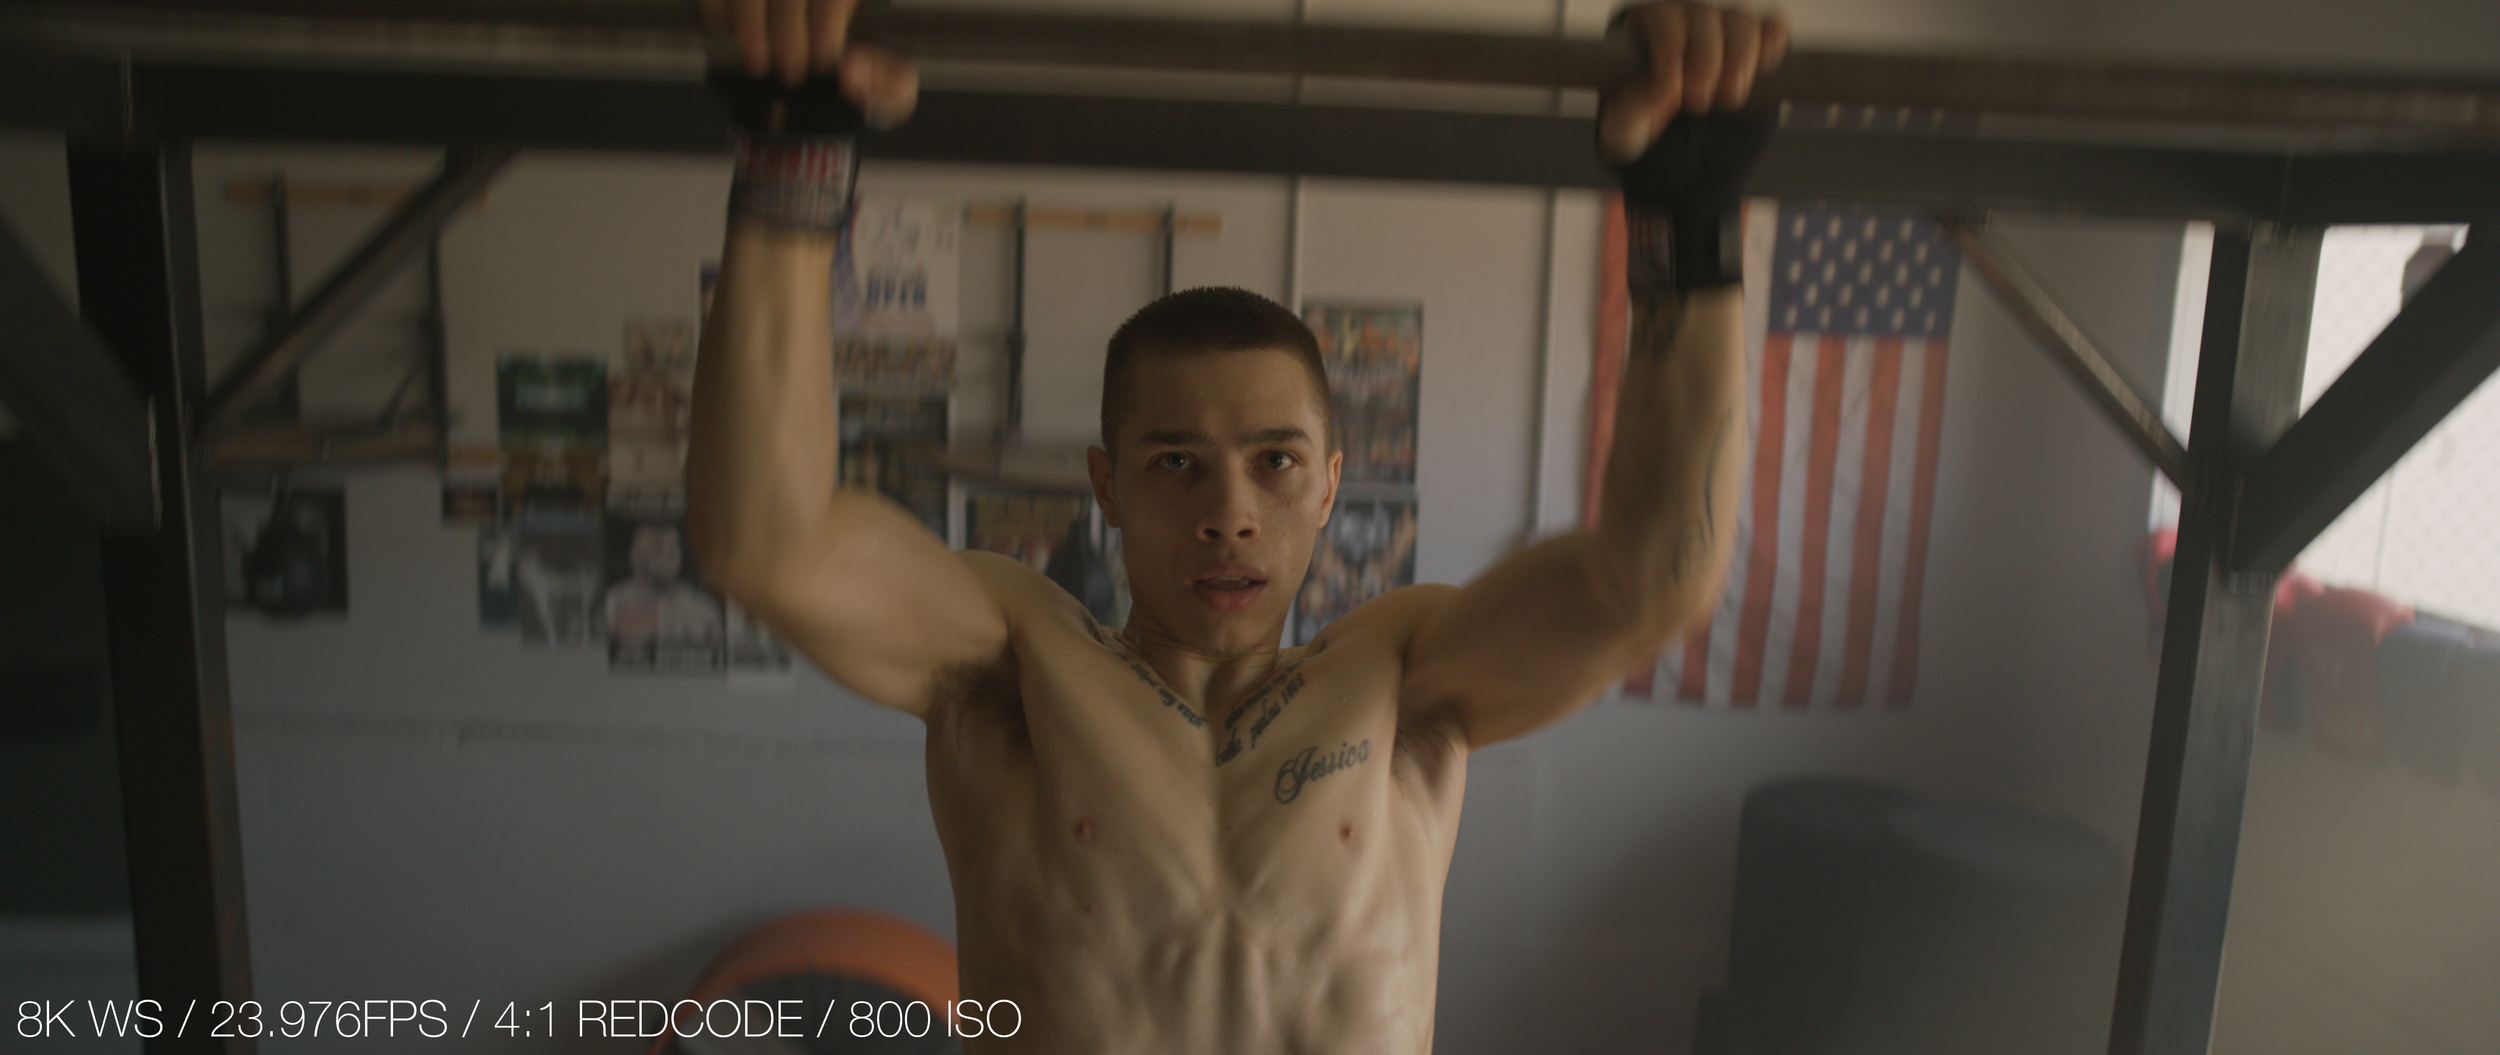
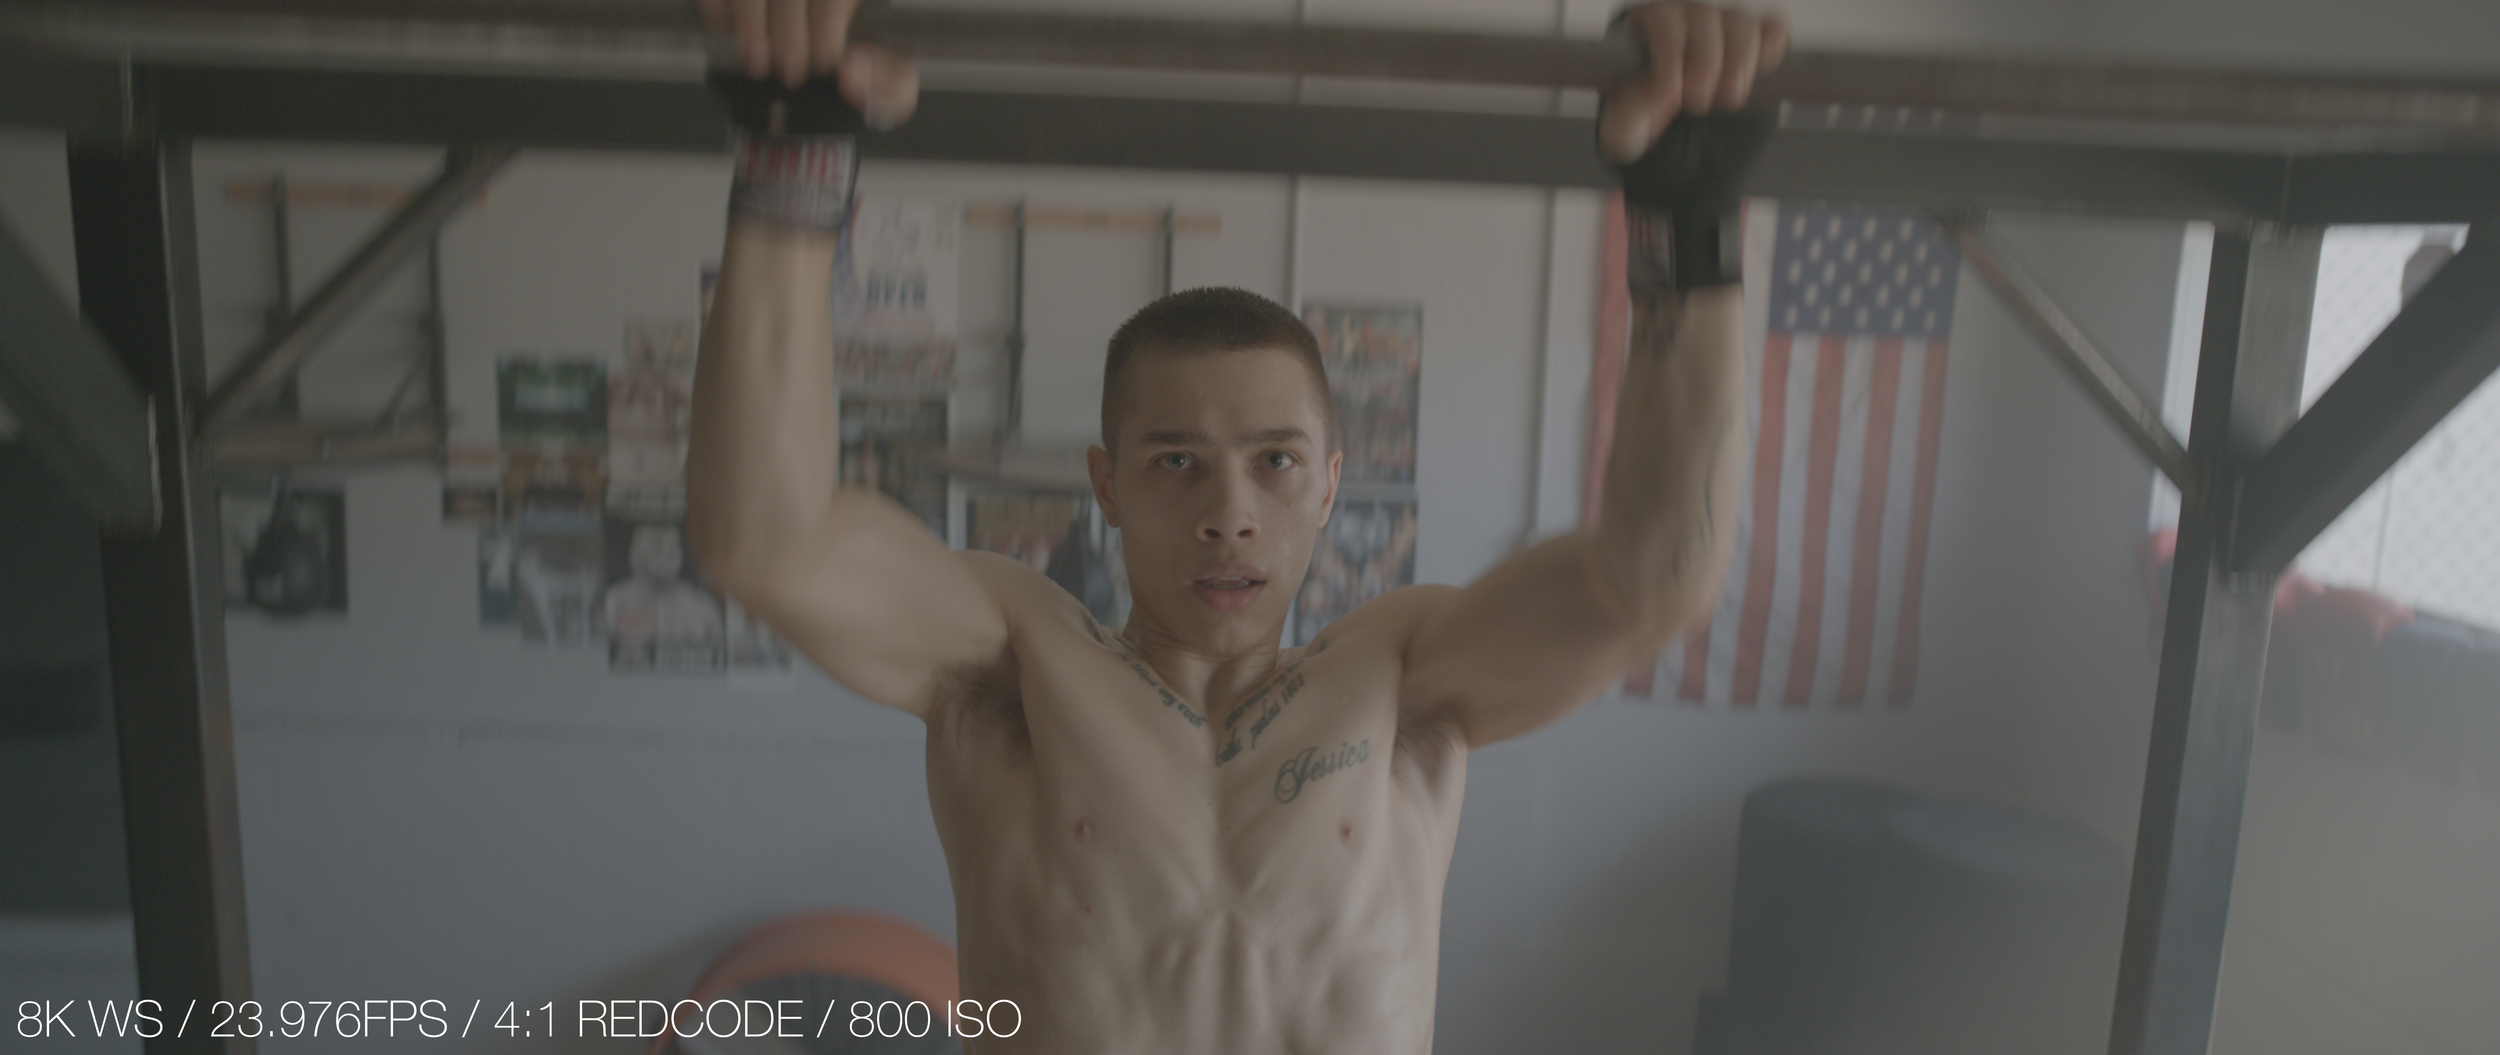
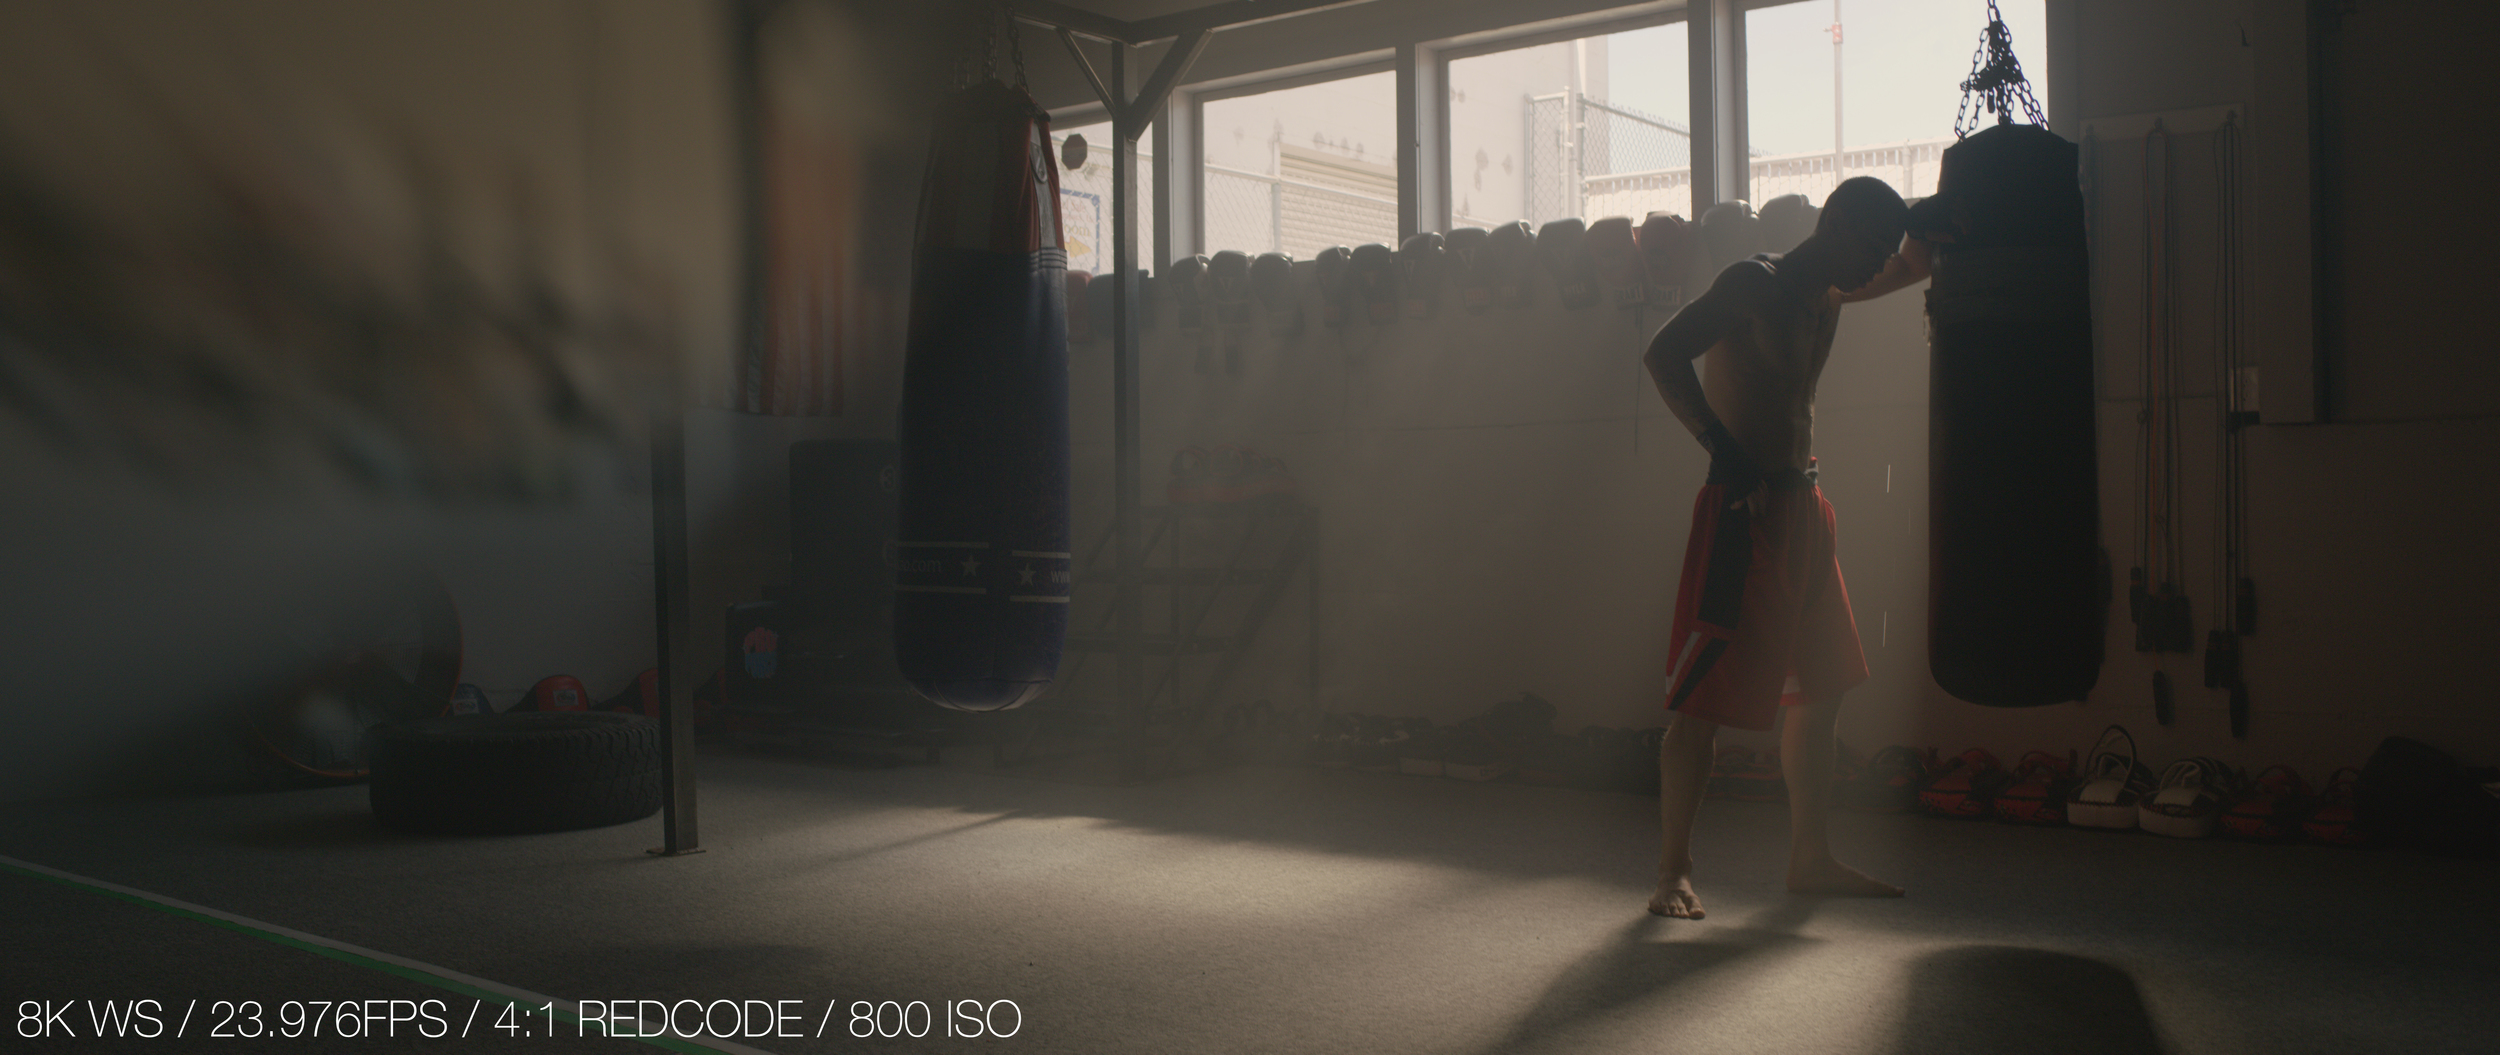
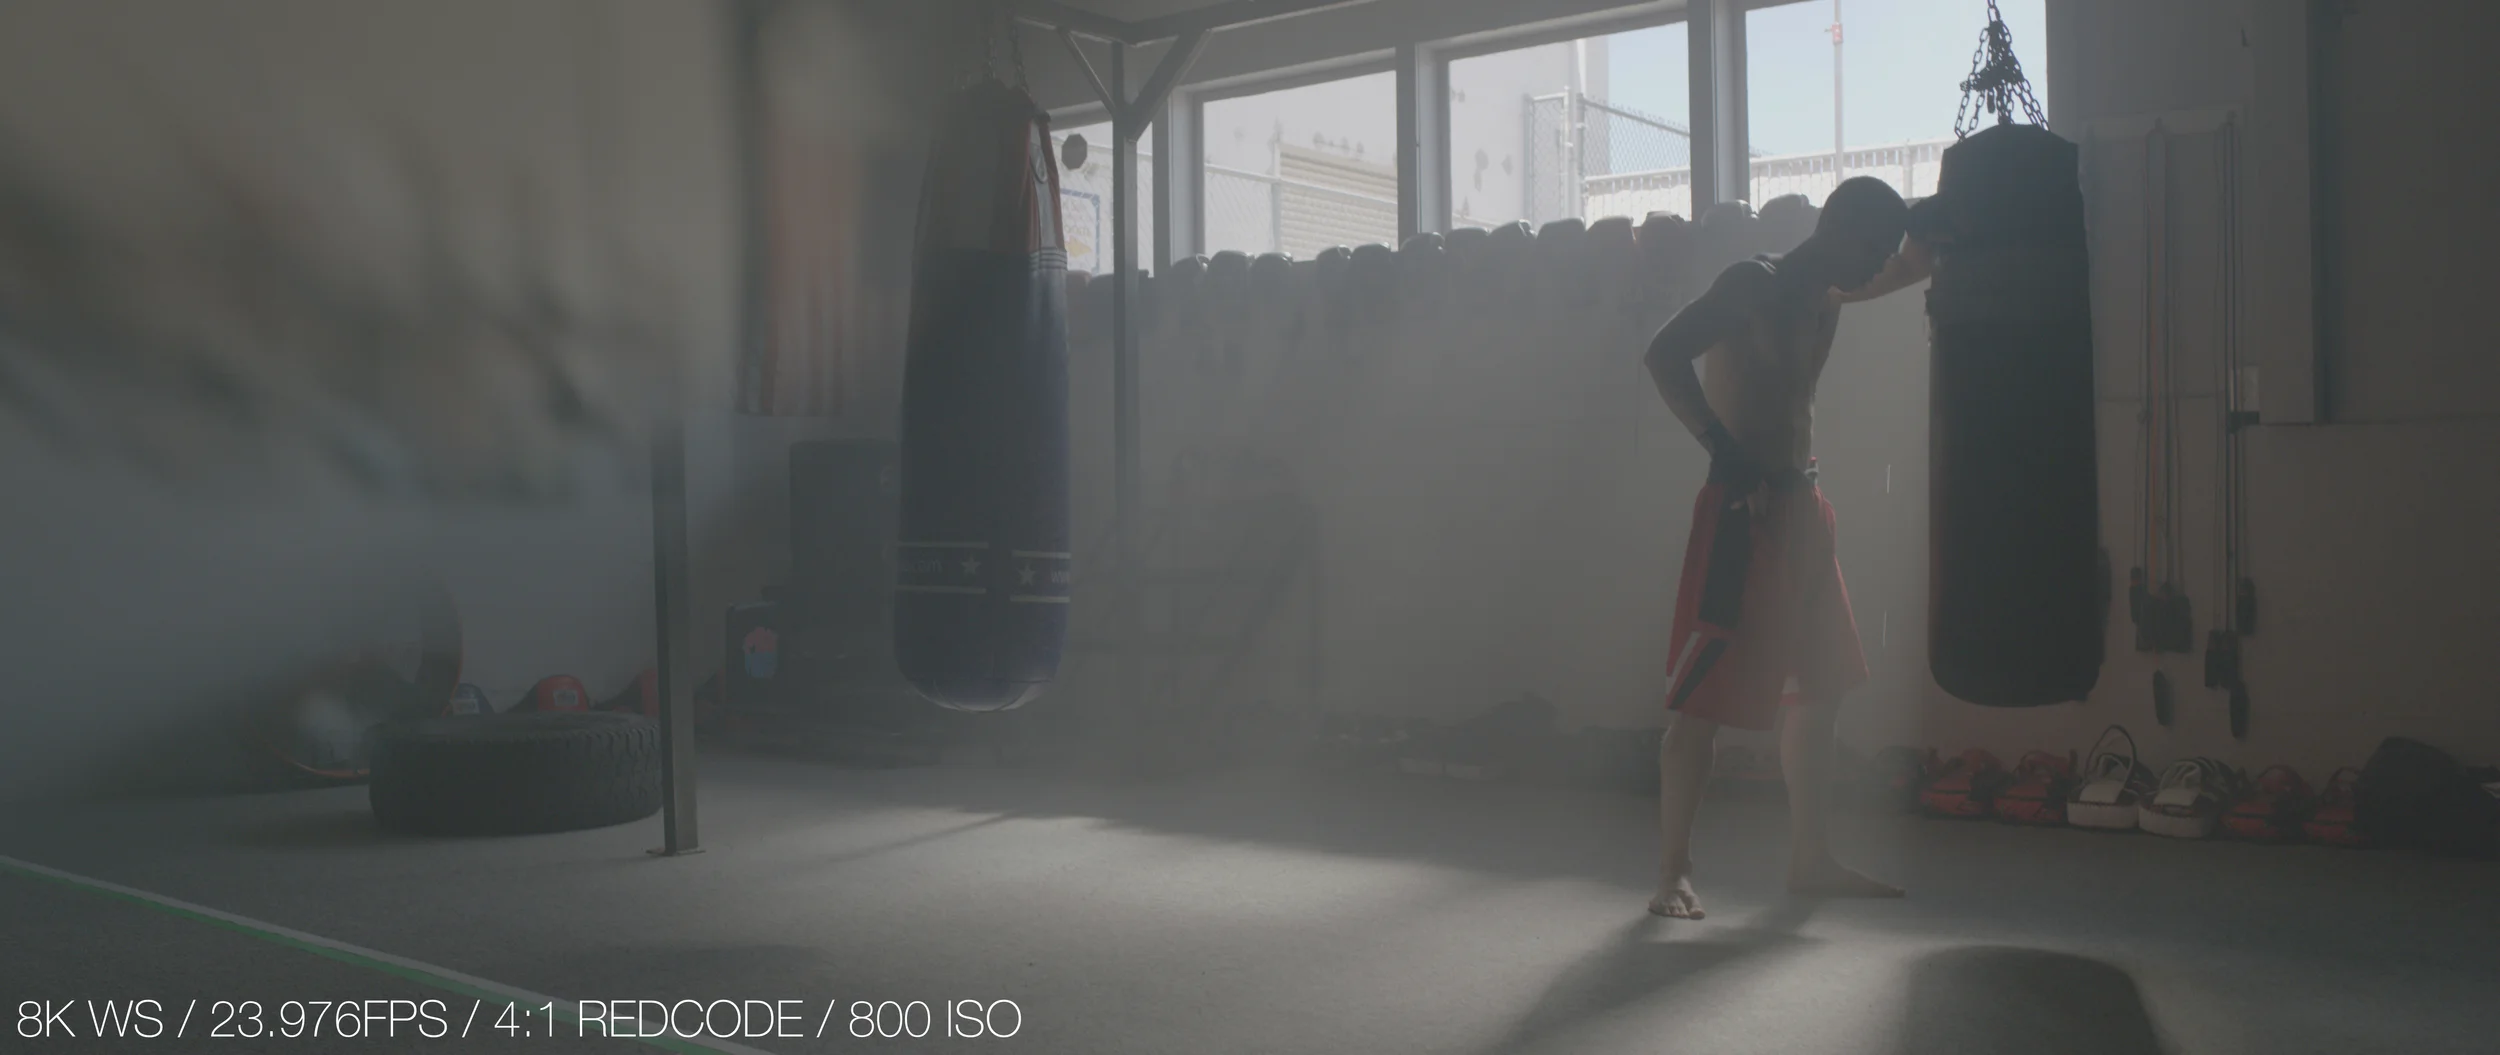
Now it was time to color grade the film, due to the short deadline of the release we didn't have much time to play with creating LUTs ourselves. We recently stumbled upon some amazing LUTs from lutify.me and decided to run through a few looks. After importing the LUTs into Premiere Pro we started to cycle through the looks with the Lumetri Panel and found the exact looks that Jonny had envisioned. For the exterior night scene we used Opal from the cine looks category of the Professional Package for that teal and orange contrast. For the flashback scenes we used Cassiterite from the contemporary color films category of the Professional Package for the more flat and warm look. In all of the main boxing scenes we used Heulandite for the blue, slightly higher contrast look.
Within a few hours we had the the video graded. I ran a few secondary Lumetri passes to fine tune the skin tones and contrast using the new HSL panel in the latest update of Premiere Pro. It's incredible the level of color control that we have within Adobe Premiere Pro, it really helps with short deadlines like this project. By 8 pm Wednesday we had the video locked and graded. Less than 12 hours after wrapping the shoot.
Next came the lengthy process of relinking and exporting the 8K files. I sent an XML file from Premiere Pro to REDCINE-X Pro, the same project file where I initially imported all of the r3d files and transcoded them. I opened the timeline and all of the 2K files linked to the 8K r3d files effortlessly because they had the same naming structure. Next I selected the r3d files that were used in the edit and put them into a bin in the REDCINE-X Pro project file, making sure to remove any in an out points except for the the clips where multiple parts of said clip were used. For those clips I duplicated them and left the in and out points, making a mental note to replace those clips manually in Premiere Pro. I used the 8K ProRes 4444 export preset that we made, selected the bin that the clips were in and began the export process.
Once the clips exported I opened Premiere Pro and made all of the 2K files unlinked. Then I relinked the missing clips with the 8K ProRes clips and just like that the video was full 8K. On a side note, I also selected the newly relinked 8K clips in Premiere Pro and used the new Proxy feature in the latest Adobe Premiere Pro CC update to reference the already exported 2K clips. Switching between the 8K file and 2K file was effortless because of the Proxy Toggle.

The Final timeline with sound design.
Finally came the sound design. I had all of the sound files organized that Thomas Ensley and George Krapivko from 3Forty Productions had recorded on set. Thomas and I spent a few hours making extra sounds for the slow motion punches and "whoosh" sounds of the boxers swinging hands. I worked late into the night layering multiple sounds throughout the video until it sounded as realistic as possible. Given the time restraints we didn't have days to fine tune it all so we made the best out of what little time we had.
It was about 3 am Thursday morning when the full edit with the sound and grade was complete. About 24 hours after the production was done we had the final edit locked and ready to have the approval cut exported. We got the approval from everyone on Thursday morning so we began exporting the final approved cut in various flavors of compression.

This project pushed us in every level of our abilities
Jonny did an incredible job directing and coordinating this production allowing for all of the puzzle pieces to fit properly ensuring for a quick turn around time. Without his clear communication and attention to detail this film wouldn't have been a possibility. The satisfaction of completing this video with limited knowledge of the camera we were shooting with will always stay with us. It was an experience we wouldn't trade for the world and we want to thank Jarred Land for trusting us with his personal Helium 8K camera.
If you'd like to purchase the LUTs we used on this project you can click here and use the coupon code "abandonvisuals" for 10% off your entire order.
-Edward Khoma